


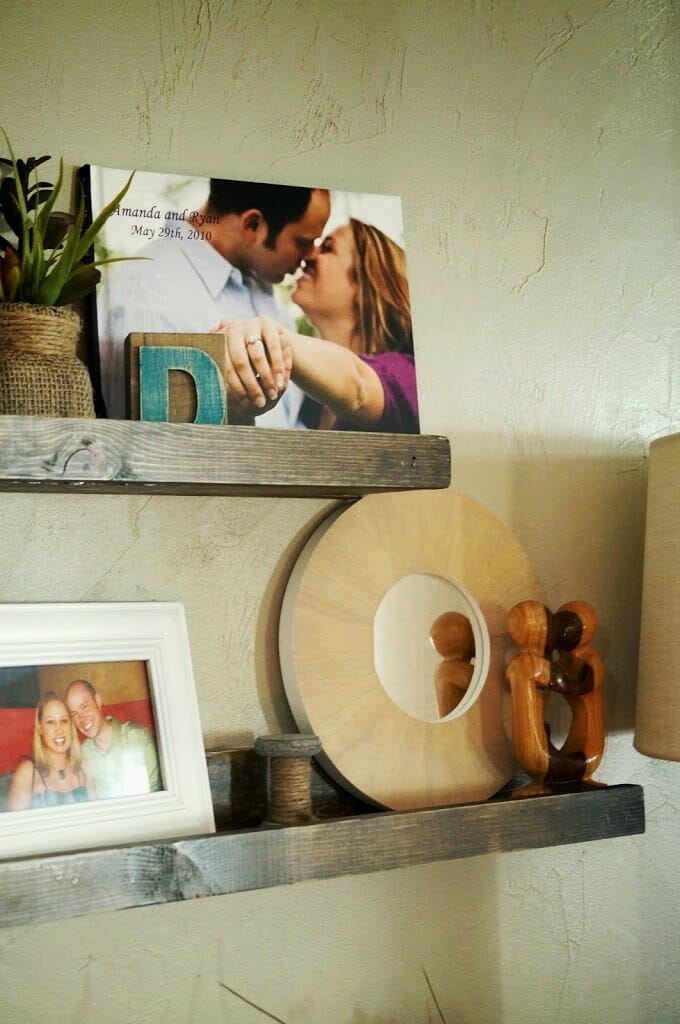
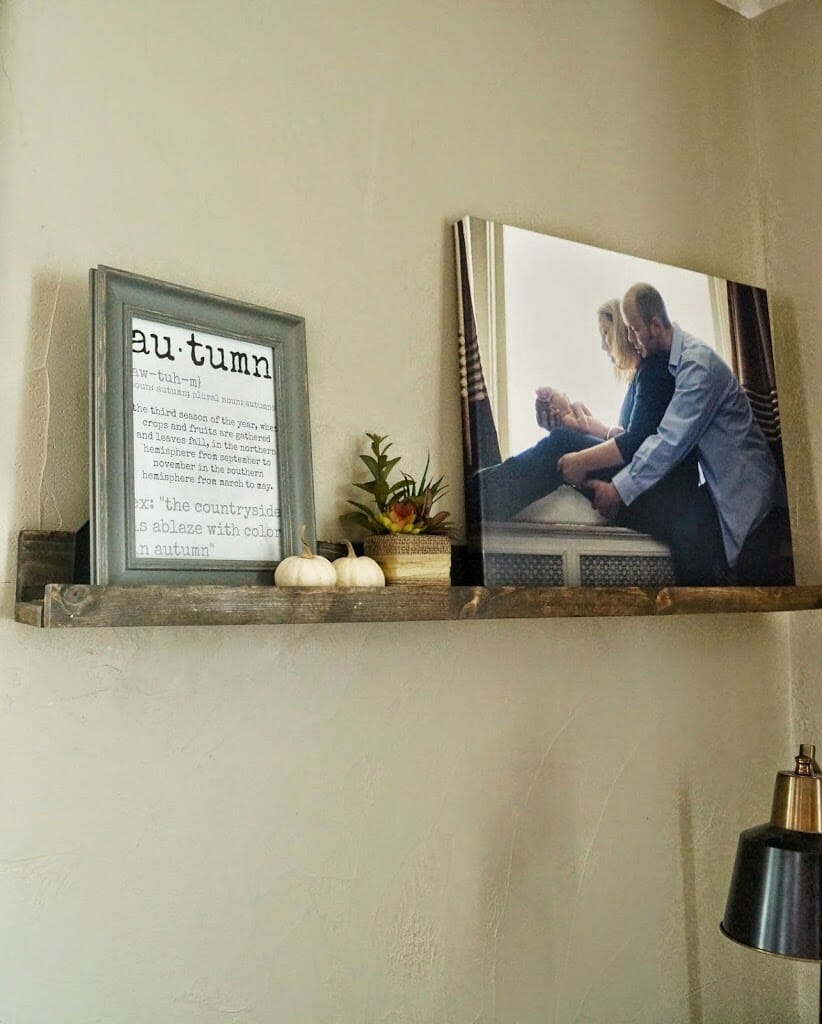
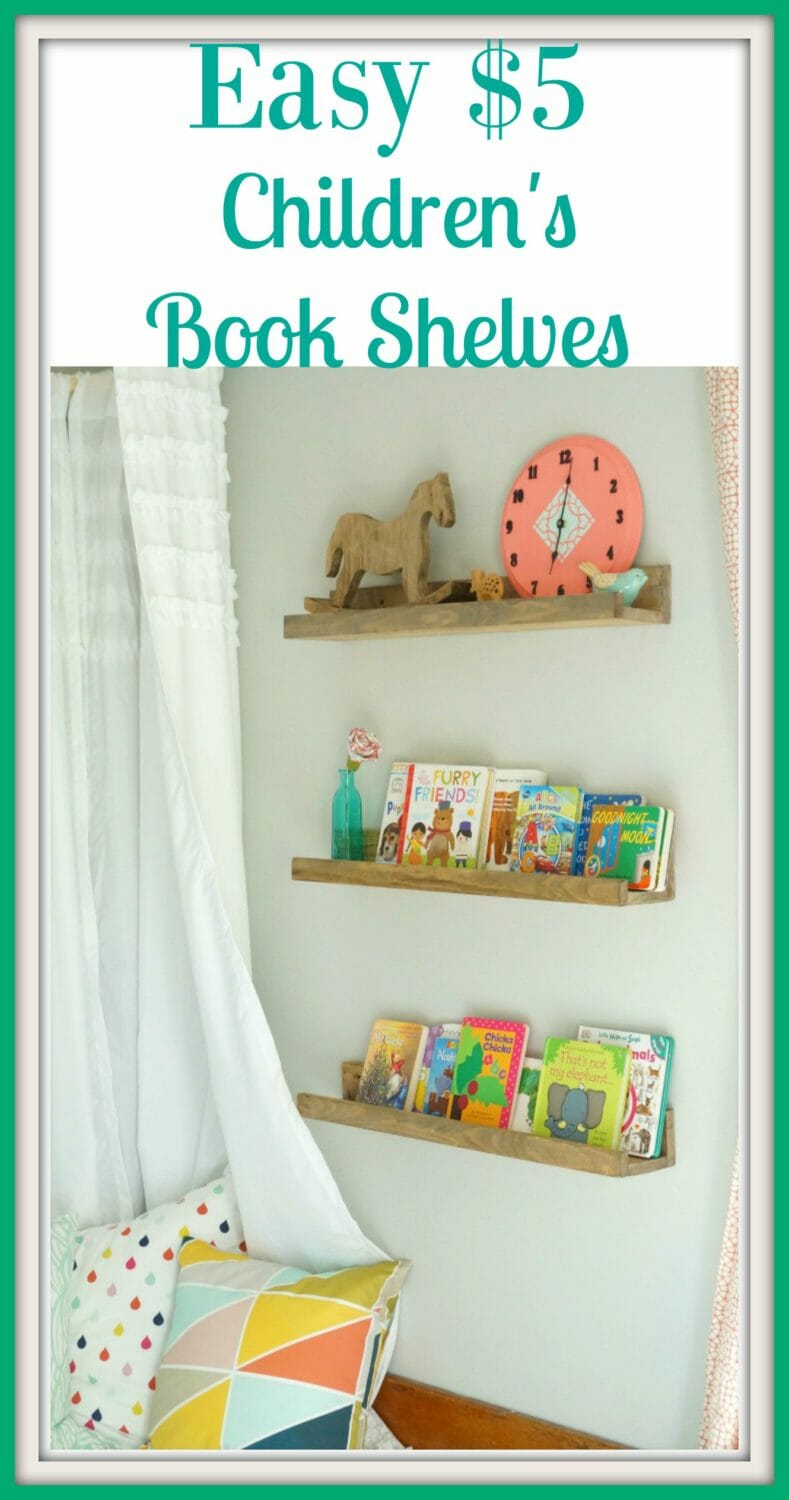
We have these shelves in other places in our home. I have a couple in our living room in a dark walnut finish and they are perfect for displaying knick knacks and art work.
Want to know the best part? My version of these shelves cost less than $5 a shelf. Yes, that’s right. $5 dollars. Granted, I already had the wood stain, spare screws, and wood glue, but still. Even if you need those supplies, you won’t spend more than 15-20 dollars.
Anyone can build these. Seriously, I have never done an easier project. You need very basic supplies and if you get the wood cut at the hardware store, you don’t need any power tools. Just a hammer and some nails!
Head over to Shanty 2 Chic to see how they made theirs, or check out my quick tutorial below.
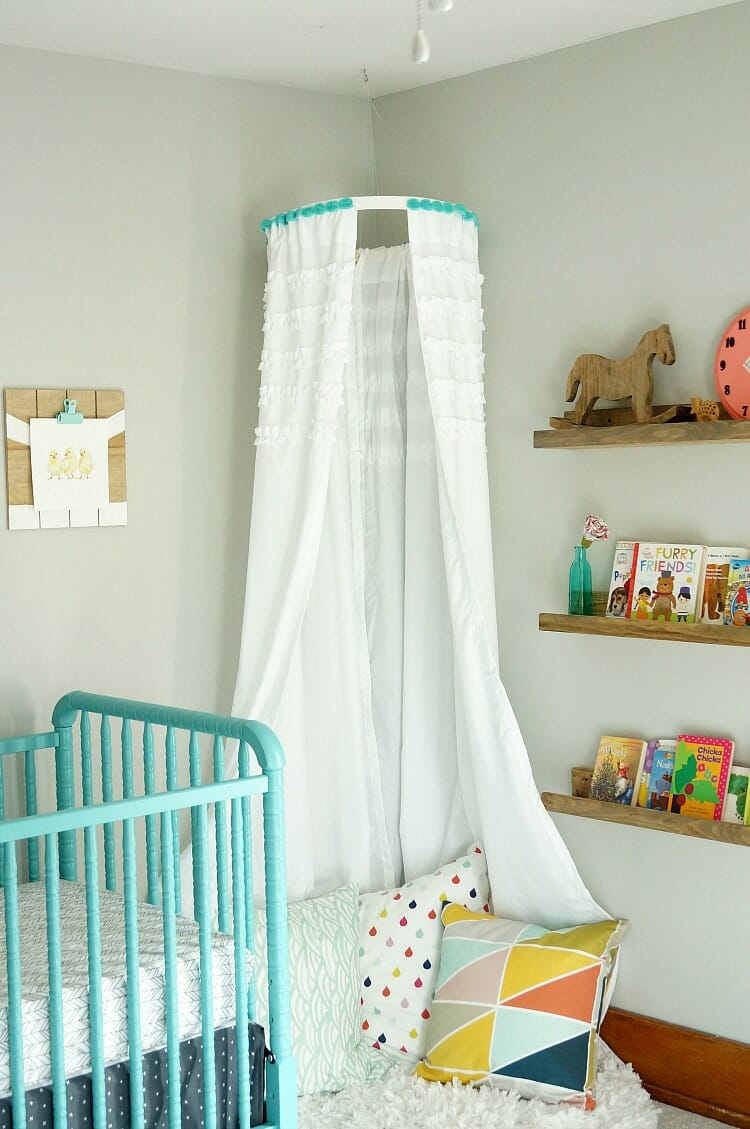
Here’s what you need for 2 3 foot shelves. Adjust your length measurements if you want longer shelves. The shelves for the nursery are 2 1/2 foot.
1 1x2x6
2 1x4x6
Wood Glue
Finishing or Small Nails about 1 1/2 inch
Wood Stain
Drywall screws
Sand paper, sanding block, hand sander
Step 1: Cut all three of your wood pieces in half to form 3 foot pieces.
Step 2: Glue your 1X4’s together to form the back and the bottom of the shelf. The actual shelf piece should lay against the bottom edge of the back piece. When the glue is dry, use your 1 1/1 inch nails and nail three nails across the back.
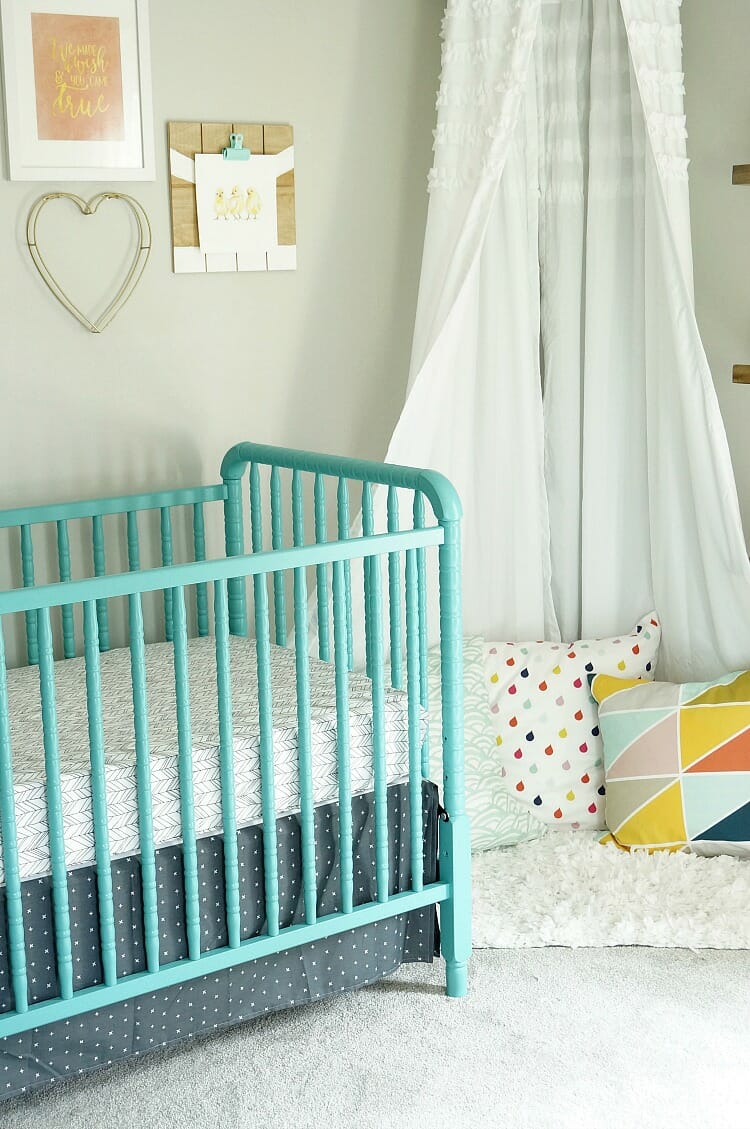
Step 3: Glue your 1X2 across the front of the shelf piece. When dry, nail in with small finishing nails.Step 4: Sand any rough edges and then stain. The living room shelf is in Minwax Dark Walnut and the nursery shelves are a combo on dark walnut and weathered gray. Reapply coats of stain as needed and sand to distress if desired. You can put a protective coat on these, but it is not necessary.
Step 5: Let stain dry completely and then secure to the wall however you’d like. We used dry wall screws straight into the studs.
Pin This One!
Looking for more DIY Rustic Decor?


First of all, don’t you love dads who help you with these projects?? I love these shelves. I have never been in a pottery barn, but I wouldn’t buy them after seeing yours. Pinning
Thanks Tammy! Yes, my dad is always on board with my projects! Even when he thinks my ideas are crazy!
I love your new shelves. It is always great to have the abilities to make something rather than paying the crazy retail prices for items.
Thank you Amy! I have saved so much money by making my own things! These are so easy anyone can do them too!
Thanks for linking up to the Bloggers Brags Pinterest Party! Your post has been pinned to the Bloggers Brags Pinterest Board 🙂
Thanks for giving me something else to add to my husband’s honey-do list 😉 This is awesome and looks so easy to do!
Nice Shelfs! The price is much lower than our DIY shelf, and yours appear to be floating! I like that! I’ve still got to stain ours but here is me. I found you on thriftdecorchicks comments! http://thenewdaybringshope.blogspot.com/2015/01/bathroom-remodel-in-progress.html
Love this thrifty idea!
Have you tried doing deeper shelves? I really like the 10″ deep ones to put bulkier items on, but I’m concerned they won’t be sturdy enough if I make them myself.
I have deeper shelves in a separate post. They look different but are better for bulkier items. Just search floating shelves on my site!
I love these book ledges, they’re so easy to make and they look great!
Thanks Katy!
These shelves came out really beautiful! I just ordered some weathered gray stain for a project and now I’m glad I did! I love this whole room!
The weathered gray is so pretty! I love to add a drop of dark walnut to it to make it a litte richer!
These book shelves are great! We also have a rain gutter book shelf! Works great too and also super cheap! You can see it here, if interested. Another way to not take up precious floor space, lol! http://dabblingmomma.blogspot.com/2015/07/rain-gutter-bookshelf.html
I have seen the rain gutter book shelves and they are such a great idea!
waow! it’s nice!
so cute, nice website 🙂
nice information to share with us 🙂
RT112 often uses garden enthusiasts extra manoeuvrable area for cutting purposes.
It can supply much less tiredness with simple bumping feeds.
Weed eater RT112 is easy to clean and it inhabits just a small storage space in your home.
The very best benefit regarding this electrical device is that it is
odor-free.
Various other affordable weed eater devices are:
1. Weedeater 12-Inch Electric Trimmer Version #RT
112C – A 3.7 ampere for $35.46.
2. Weed Eater 15-Inch Electric Trimmer 4.5-AMP Model #RTE 115C – $50.
Shipping is totally free.
3. Black & Decker Electric 12-Inch Bump Feed String Trimmer/ Edger
3.5-AMP Design #ST 4000 – $34.99.
4. Black & Decker Turf Hog 14-Inch Electric String Leaner/ Lawn Edger 5-AMP Model #GH 600 – $54.27.
Weed eater product constantly use low cost over the net.
Individuals who have a tendency to purchase this can generally compare the
cost as a result of its top quality as well as resilience.
More frequently, low quality items can give bad performance.
In the expanding period of gardening devices, producer’s
fruit and vegetables weed eaters with better attributes in order to please the customer requires.