Hello all! Contributor Jess here sharing this easy DIY Wrapping Paper Art. November and December have been crazy months for me, but that did not stop me from preparing a special holiday post for you. This quick and easy DIY can add an extra holiday cheer to your Christmas decor.
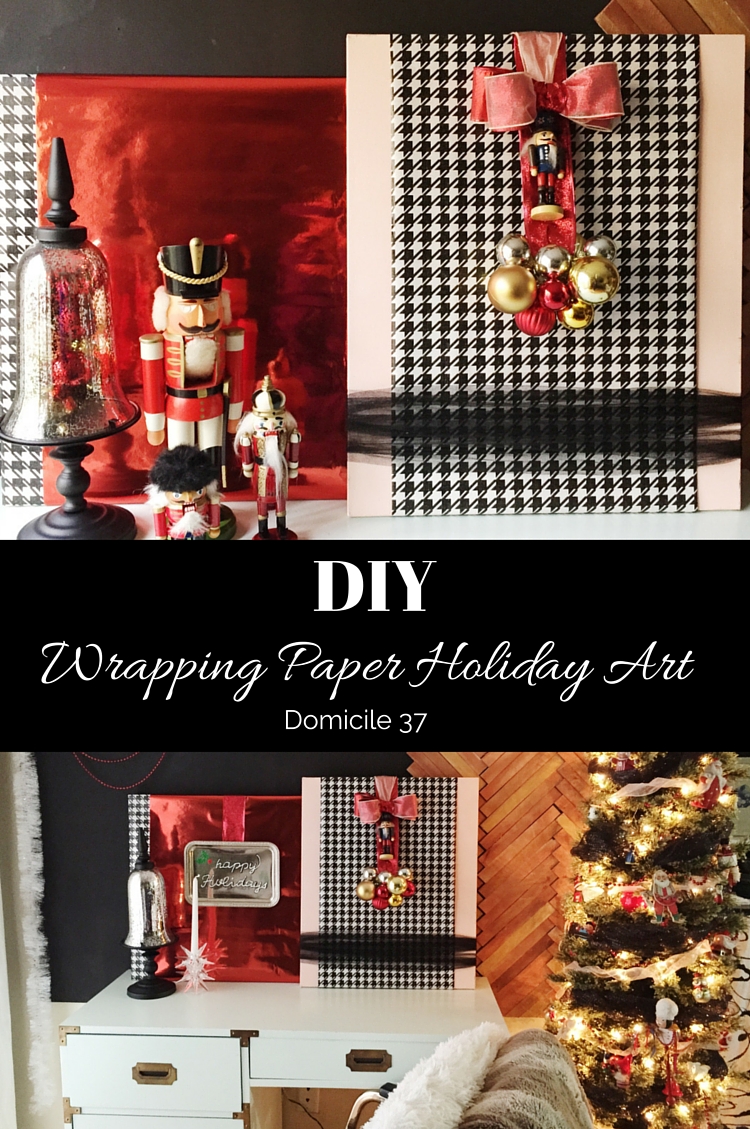
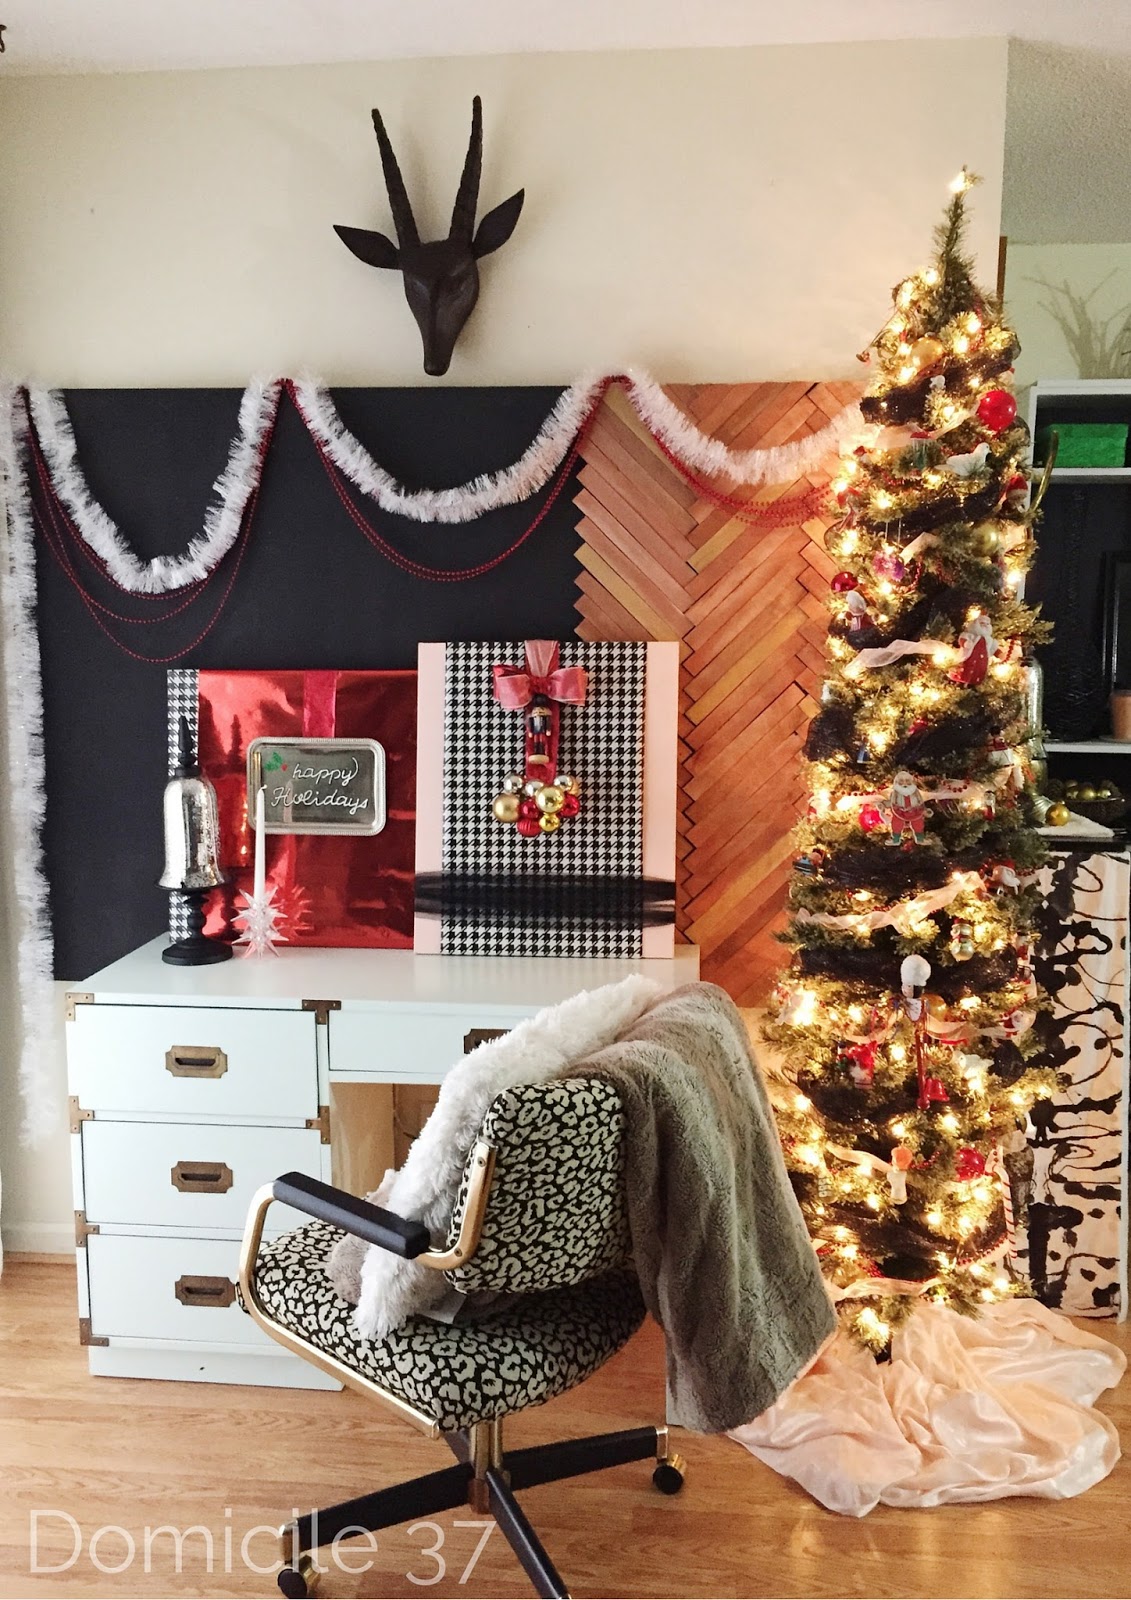
While showcasing my Christmas Home Tour, I shared some pictures of my living room and sitting on my work desk were some wrapping paper holiday art that I did to “inexpensively” spruce up my Christmas decor. Using gift wrapping paper can add needed pattern to a bland space or it can make your space feel more lively. In my case, it was much needed and tied nicely with vintage Christmas decorations.
Materials:
Wrapping Paper of your choice
Ribbon
Tulle
Canvas or framed art
Ornaments
String
Holiday decor
Scissors
Tape
Stapler*–not necessary, but I used it
Steps:
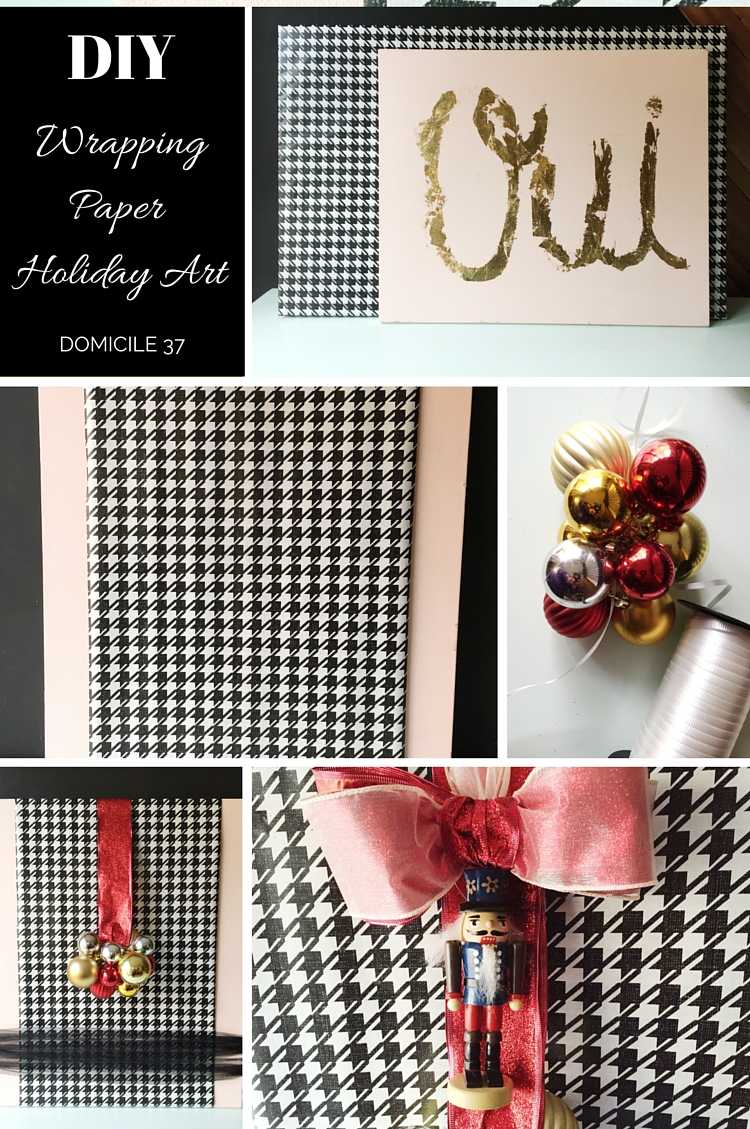
1. Find a decent size canvas and gather other supplies.
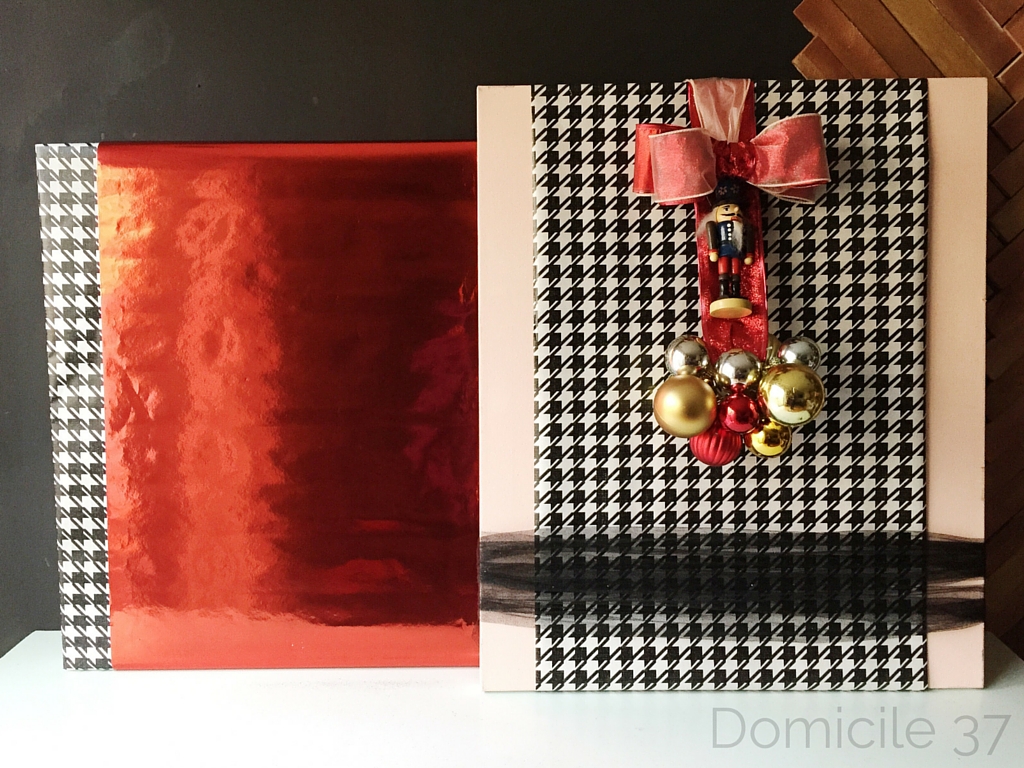
2. Wrap canvas in wrapping paper. I chose to leave two sides of my canvas exposed.
3. String ornaments and tie into a bundle and wrap tulle around the bottom of the canvas.
4. Add ribbon to the ornaments strung together and leave enough ribbon to attach it to the back with stapler or tape.
5. Add a bow and decorative Christmas ornaments
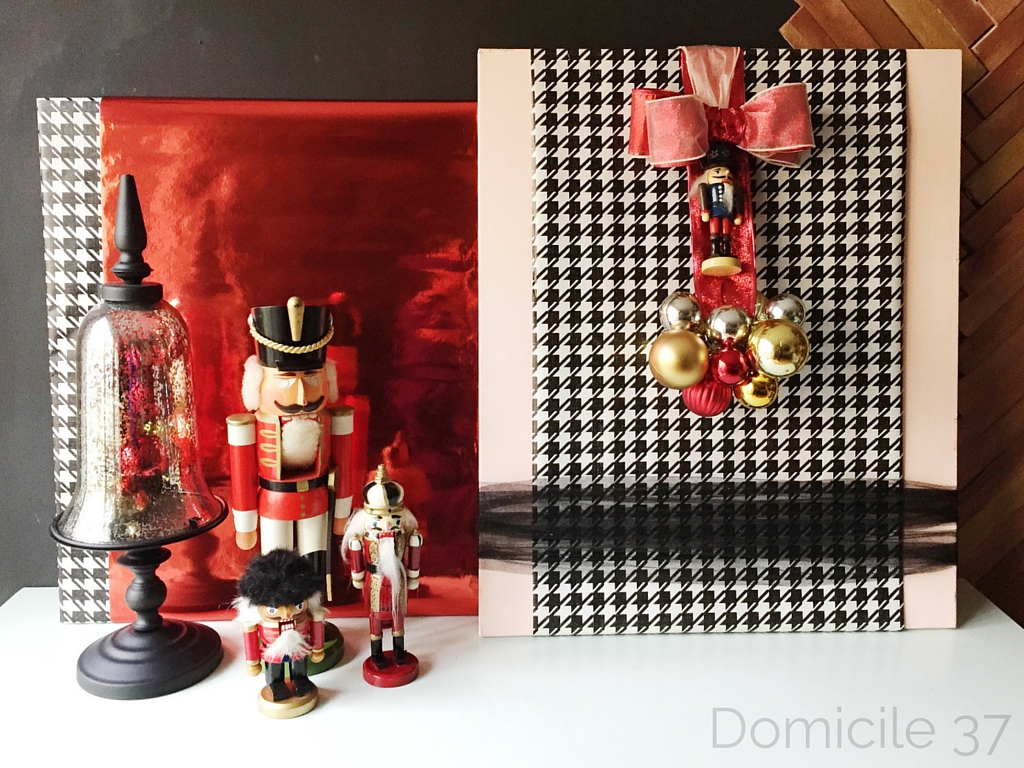
Well, that was literally it!…So easy, right? The fun thing about this DIY Wrapping Paper Art project is that there is so many different types of wrapping paper that you can choose from. In all honesty, that was the hardest part for me. Haha!
Til’ we meet again…Merry Christmas and Happy Holidays.
What a great idea! So stealing this for next year!
Isn’t it so cute and easy!! I love it too!