Are you ready for a picturepalooza? I sure hope so, because I love this project so much, I just couldn’t stop taking pictures! This is a DIY Wood Clip Boards project that I thought about for ages, and when I finally did it, it turned out exactly how I wanted and that doesn’t happen often!
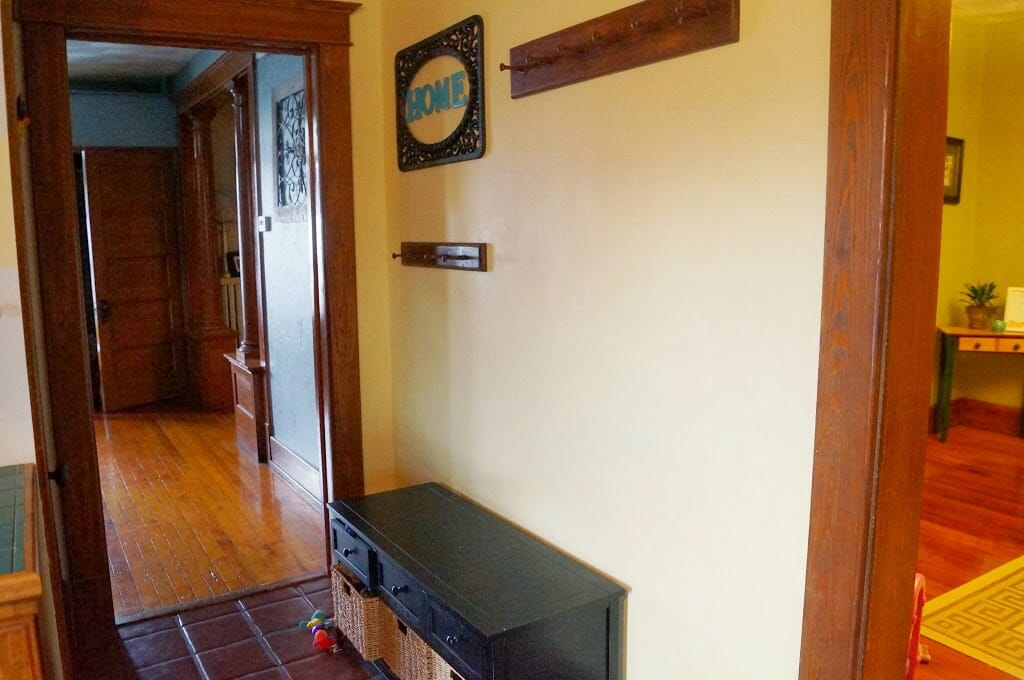
So we had this really ugly hallway in our kitchen that leads to our foyer. The previous owners used it as their mudroom and had it full of coat racks, shoe racks, and a humongous corkboard. As soon as we moved in, we removed the shoe racks and corkboard, but left the coat racks. (We now have a foyer closet where we keep our coats ) Here is the hallway in all its ugly coat rack glory.
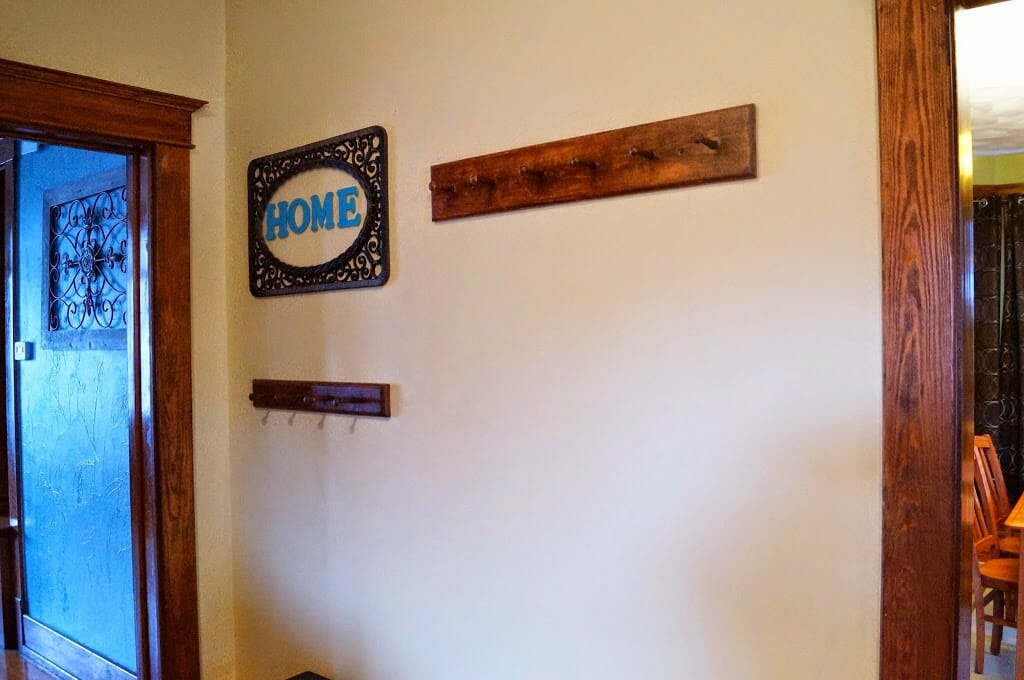
The home sign was a DIY project that I did to help cover the giant holes left by the cork board. I plan to give it a new coat of paint and relocate it, perhaps even trying out some DIY wood clip board designs for decoration.
So here’s what truly bothered me about the coat racks. I am a super OCD person and the fact that these were asymmetrical and off center, KILLED me. They honestly bothered me everyday, but since we had no other coat hanging system, they had to stay. The other problem was that I knew there were going to be giant holes when I removed them and I was having a hard time matching the paint.
So a few weekends ago, I finally bit the bullet and ripped them down, and I was right about the gaping holes. I patched the wall, sanded it, and painted it with Homey Cream by Valspar in an eggshell finish. I ended up painting the entire wall, and I have to say that the match is pretty good! You can’t tell where the old paint ends and the new paint starts, success!
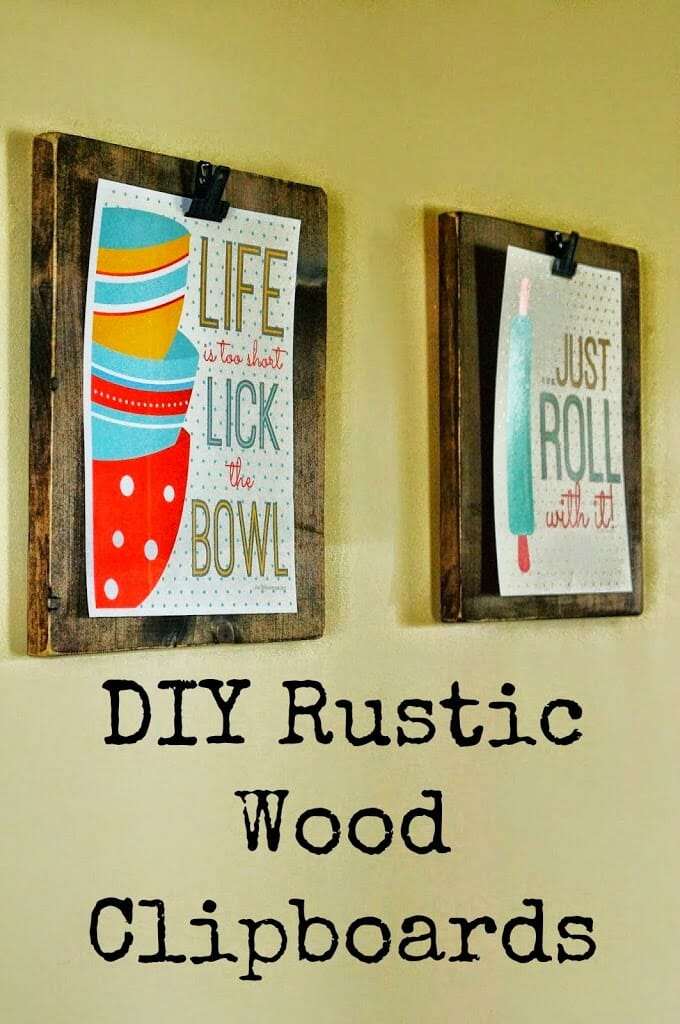
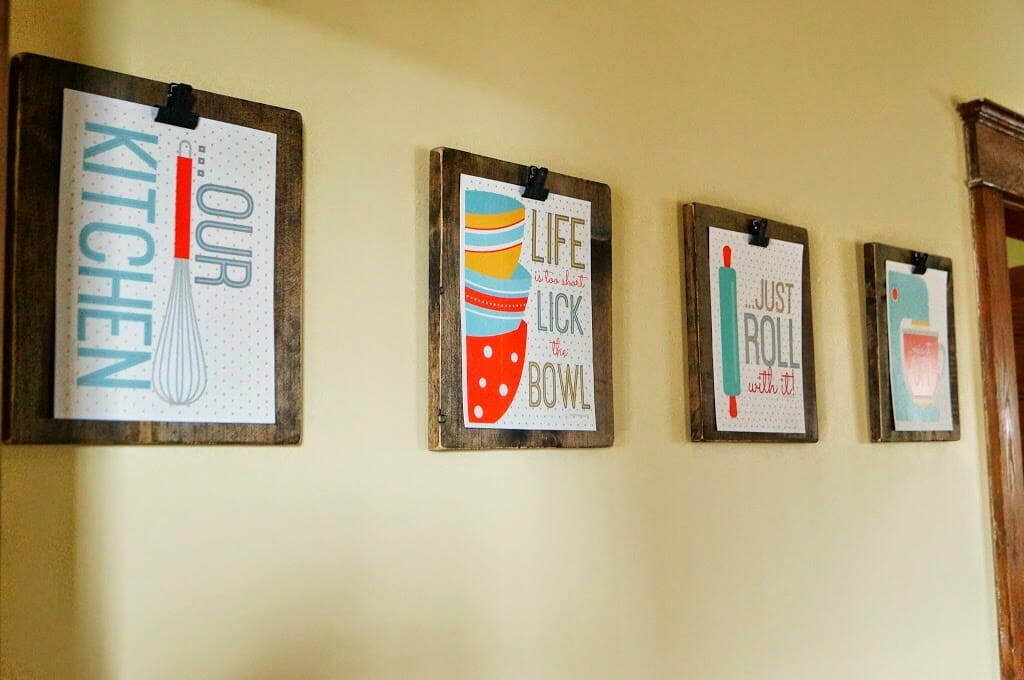
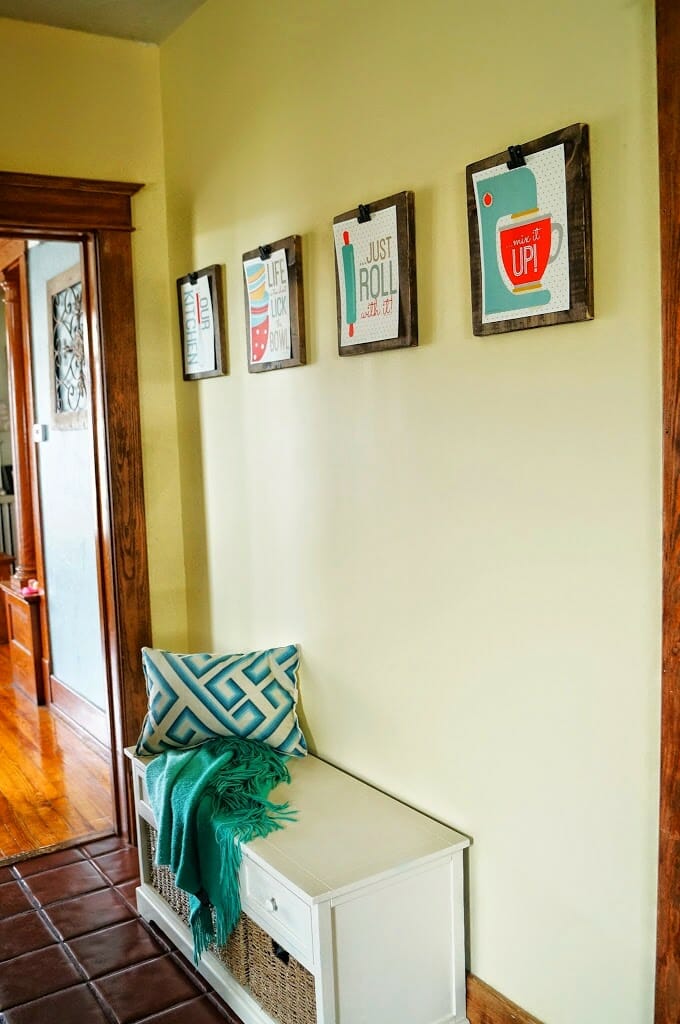
So now that I had a big naked yellow wall, what was I going to put there? I had vision of a clipboard system where I could change up pictures whenever I felt like it. After searching, I stumbled upon these from Love Grows Wild and I absolutely loved this idea. I loved the chunky industrialness of them, and the price tag could not be beat! Scrap wood, check, dark walnut stain, check, sawtooth photo hangers, check…all I needed to get were pictures and binder clips!
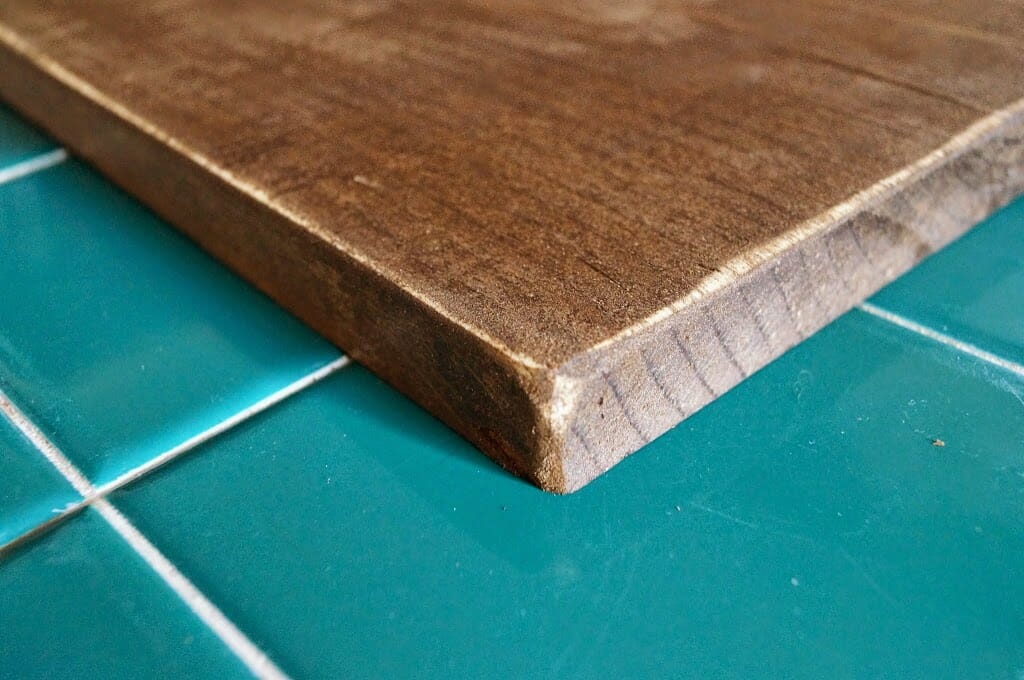
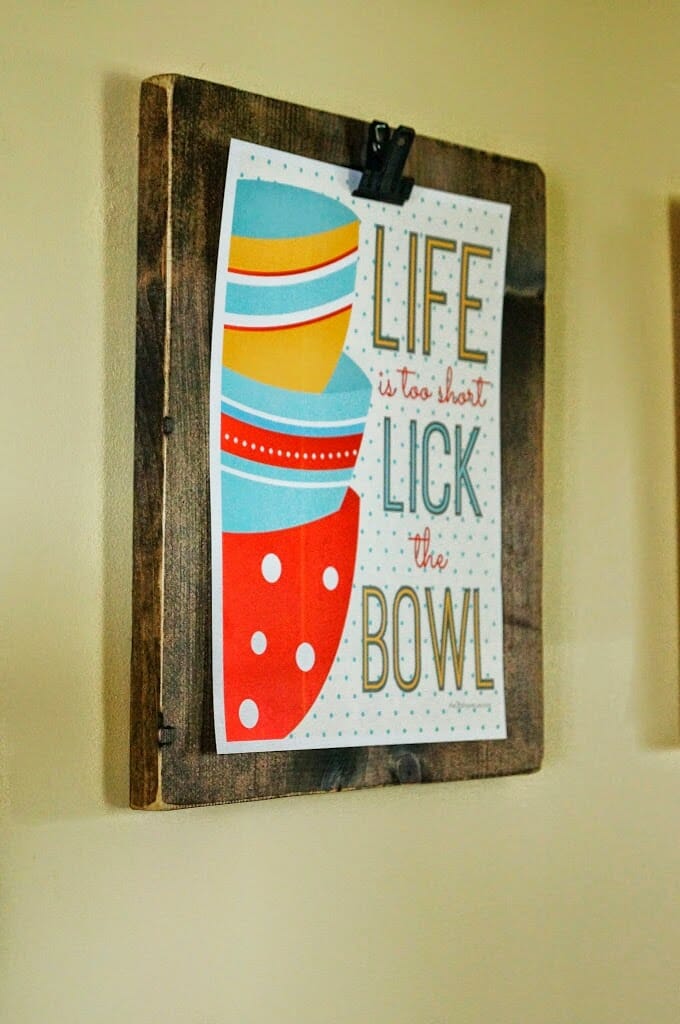
I started with a piece of scrap wood that was a 1 by 12 and cut it into four 13 inch pieces. I sanded them down well and then stained them with my favorite Dark Walnut stain by Minwax. After putting on two coats, I got the sander back out and distressed the heck out of the corners and sides.

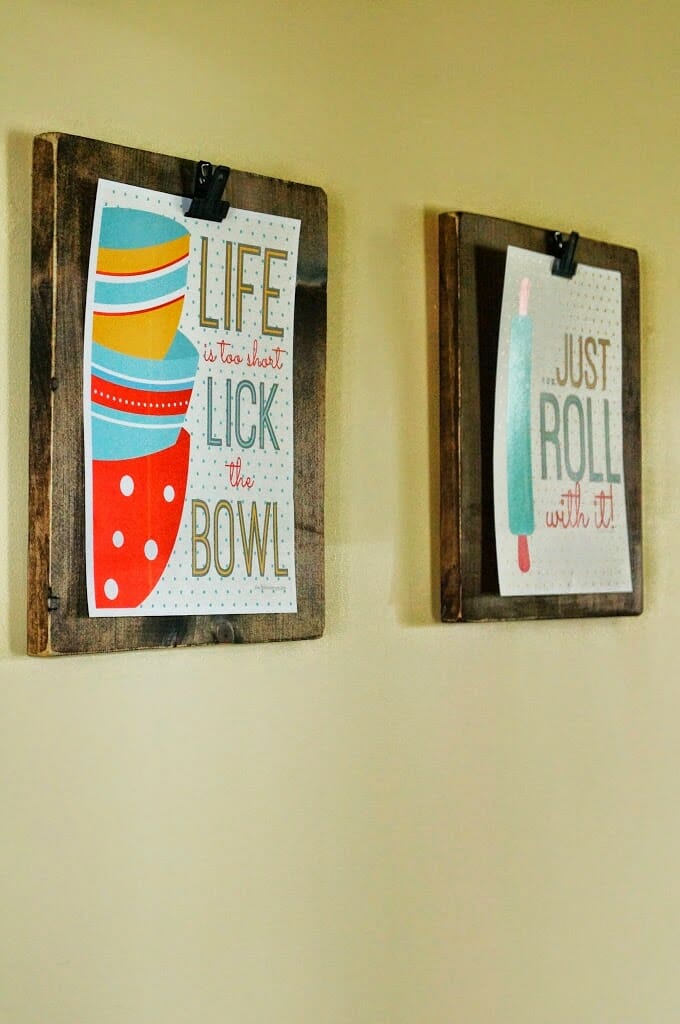
I then nailed the sawtooth hangers onto the back and hot glued magnetic binder clips to the front. (I found a great industrial looking pack of these at HomeGoods, perfect for any DIY clipboard wood project)
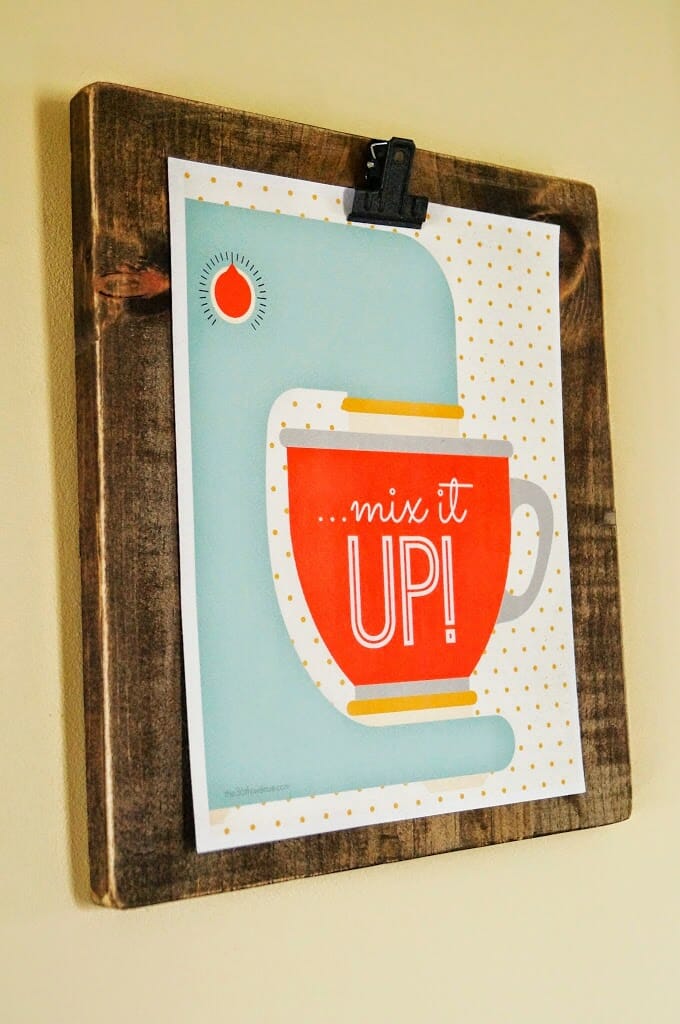
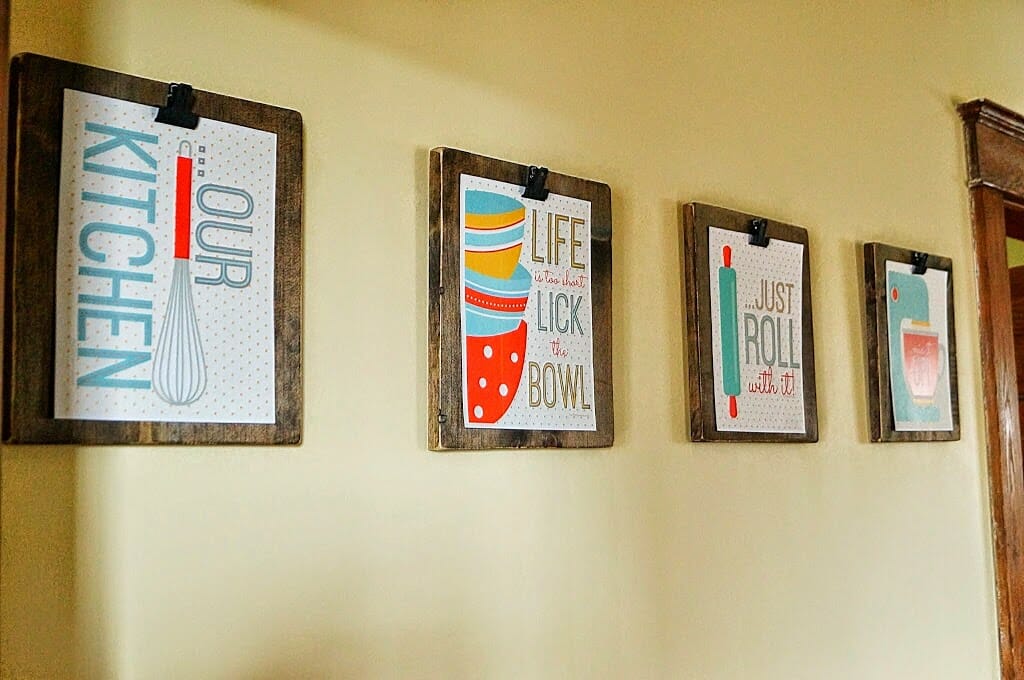
As for pictures, I at first thought of doing family pictures, but couldn’t find four I already had printed. So I turned to the internet for free printables. I found these great vintage printables at The 36th Avenue. I slid them under the binder clip, and voila! The DIY clipboards made from wood added a rustic touch.
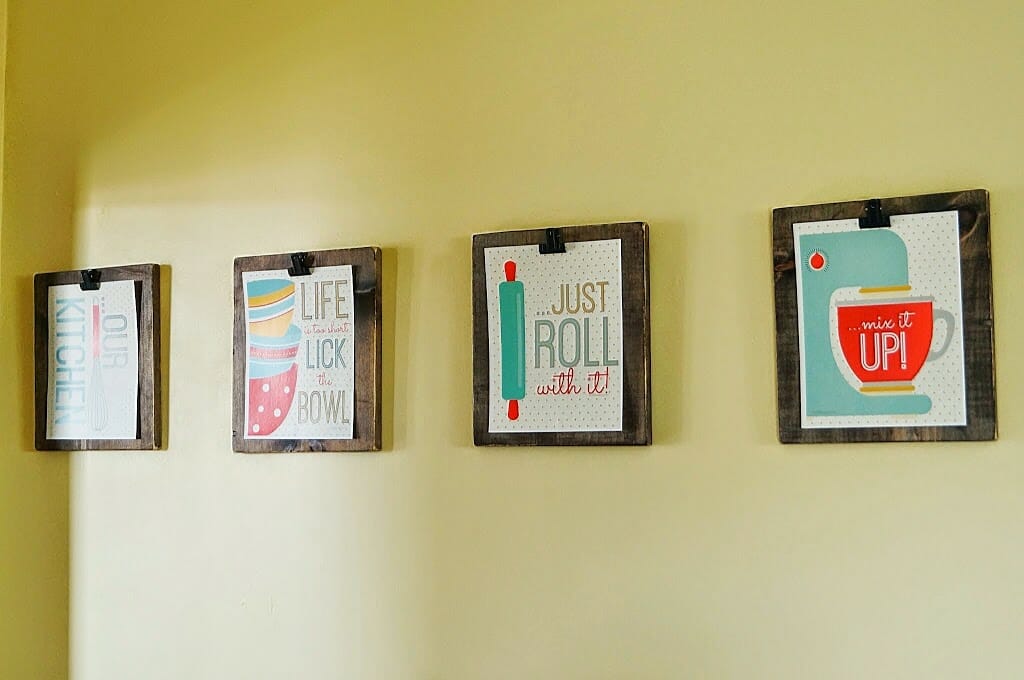
Also, you’ll notice that depending on the angle, the paint looks completely different! It is a very mild and warm yellow in real life. I love these DIY Wood Clip Boards and think they add the perfect rustic touch to our kitchen hallway!

And finally, an official before and after shot…bonus points if you noticed that the bench is now a different color! (Tutorial coming soon!)
So much better right!? And when I get sick of the printables I am thinking that kid’s artwork, holiday greeting cards, or just plain photos would look great on the DIY wood clip boards!
Great ideas, love that they are wider than the normal clipboards and I definitely need the ‘just roll with it’ up for my hubby, this is a creed he needs to learn. Thanks for sharing on Wonderful Wednesday Blog Hop.
How fun, what a great idea! 🙂 Michelle
Love this! It’s great that you can always change the pictures easily if you get tired of them!
WOW these are so cute! LOVE THEM!!!
thank you!!! I love them too!
Your project turned out lovely. I love that you can change out the pictures when you need a change.
I love these! I’m not sure that I have the space to put them in a straight line like you did. Do you think they’d look ok (4 of them) clumped in a square (or rectangle shape, however it end up looking). Thanks for sharing!
Yes! I think a big square of them would look adorable!! Please email me a picture adawnpaxton@gmail.com, if you do it!!
LOVE these!!! So simple and cute! Thanks for sharing… Doesn’t The 36th Avenue have GREAT printables? I used one for my nightstand.
They have the best printables!!! I get compliments on these all the time!!