It is time for the $100 Room Challenge: Master Bedroom Reveal!
 There’s been some blood, sweat, and tears, but it is time for our master bedroom reveal! If you are new here, I am joining with a bunch of blogging friends to make over one room in only four weeks and we can only spend $100 dollars! Let me tell you, this was much harder than I expected! I chose to do half of our master bedroom. Our room is large and at one point, was two separate bedrooms but someone knocked the wall down between the two rooms years before we moved in. If I had a bigger budget, I would have done the entire room, but with the limit, I chose to do the slide we sleep on. Check out our before shots and week one post here!
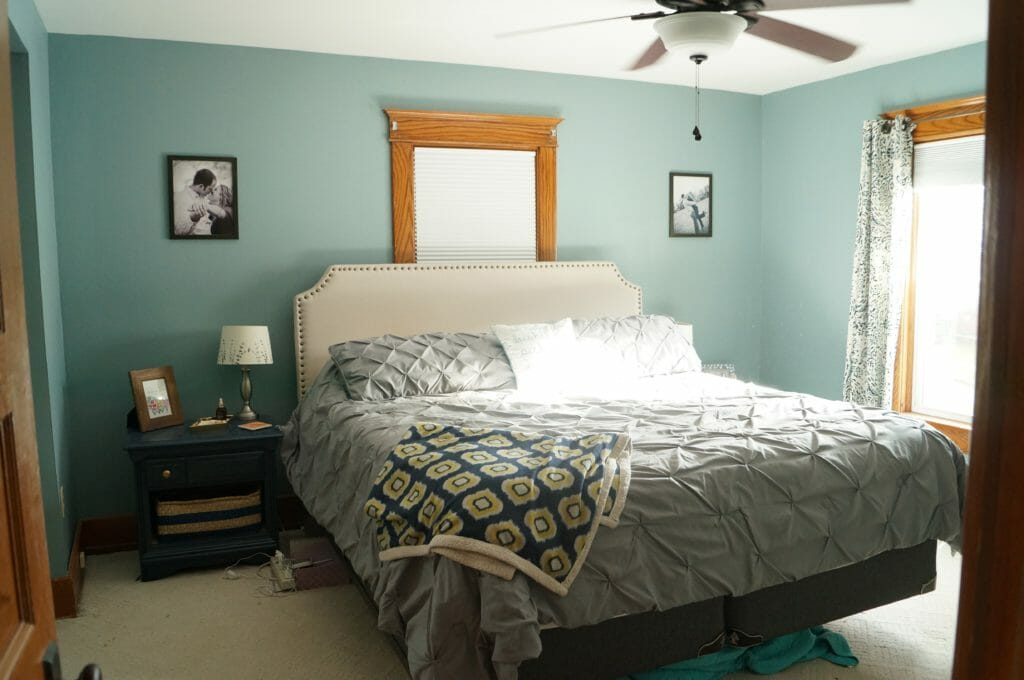
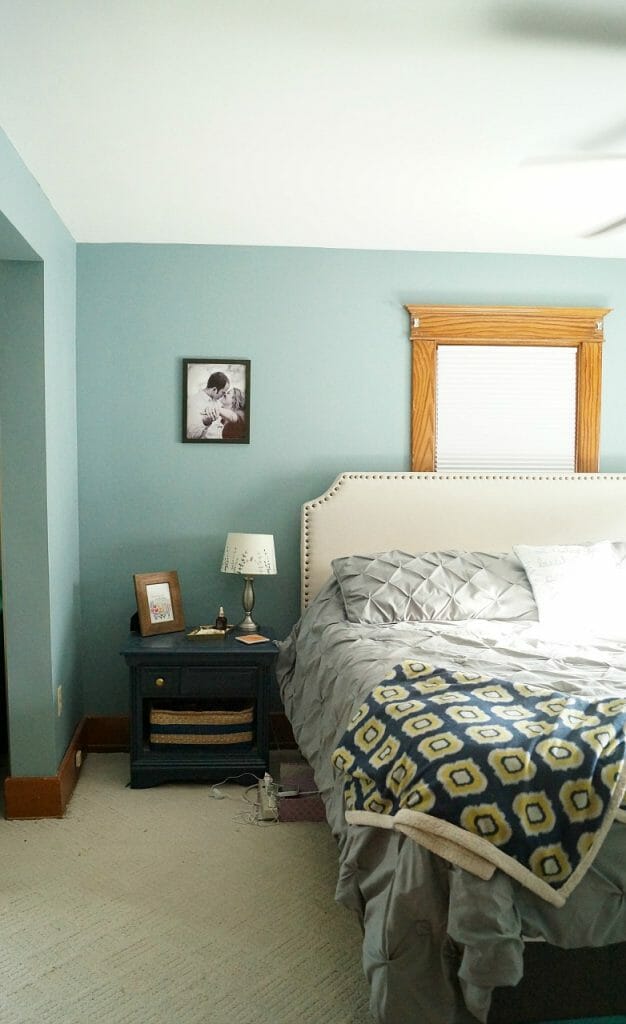
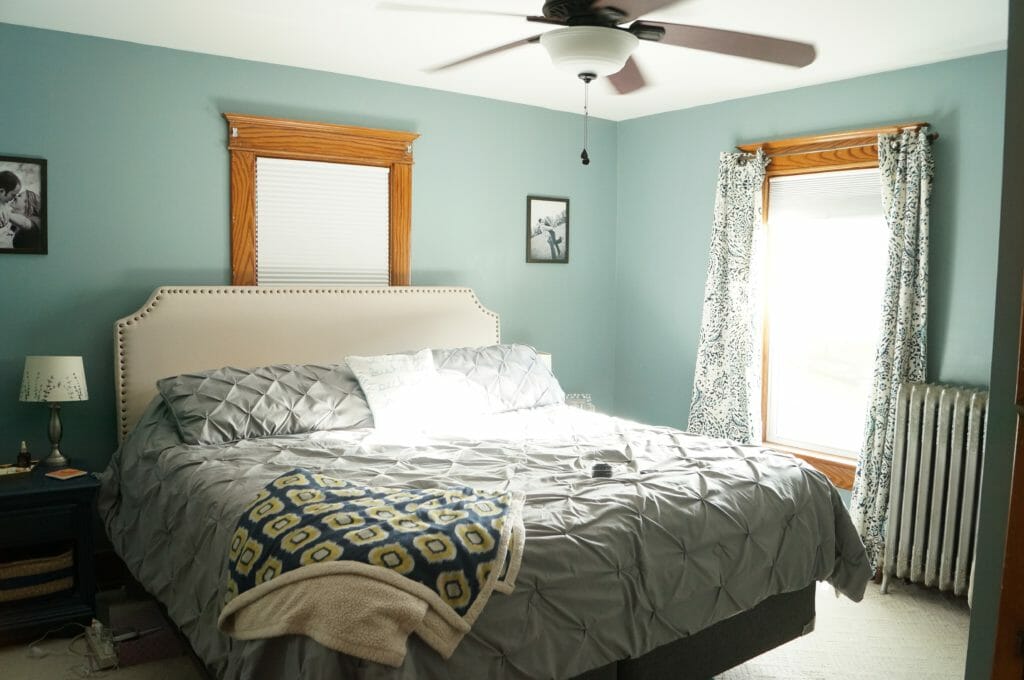
The room certainly doesn’t’ look dramatically different, but I really didn’t want to change much. I was happy with the paint color and the bed and bedding. I also love the curtains. It was really the nightstands that were plaguing me because they were so old and mismatched. So while the before and afters won’t be dramatic here, I love the results, and that’s all that matters!
Before
 I kind of set myself up for failure here because the main reason I chose this part of the room was because our mismatched nightstands were driving me crazy and it is nearly impossible to buy two pieces of furniture for under $100! I searched and searched but ultimately landed on the IKEA Rast. I know this isn’t a very original idea and everyone and their mother has done a rast hack on Pinterest, but it was really the best choice for our budget!
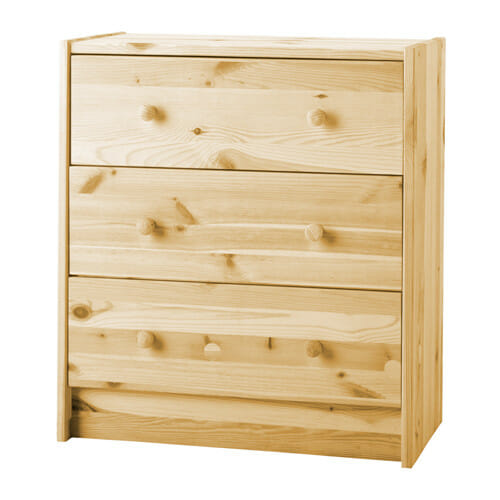
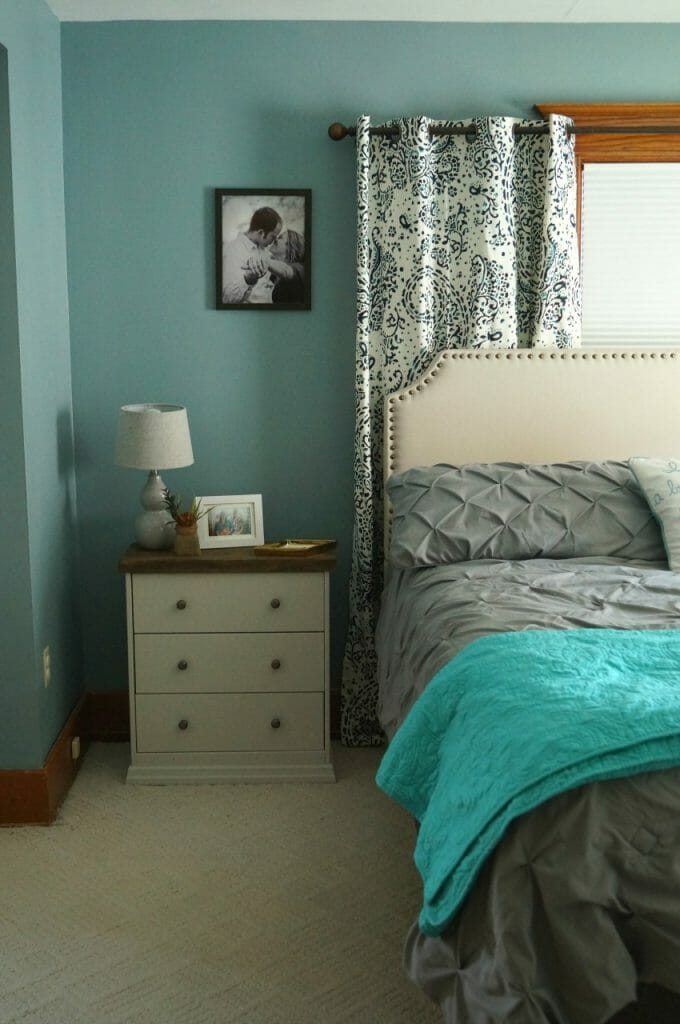
I wanted solid wood furniture so this was the cheapest way to go. After weighing all the options on Pinterest, I decided to go with a painted body with a stained top. The rast is adorable once put together and is a great option for any bedroom. You could honestly slap paint or stain on this and call it a day, but for our home, the style was a little too modern. Our home is 115 years old so modern is definitely not the look that I usually go for!
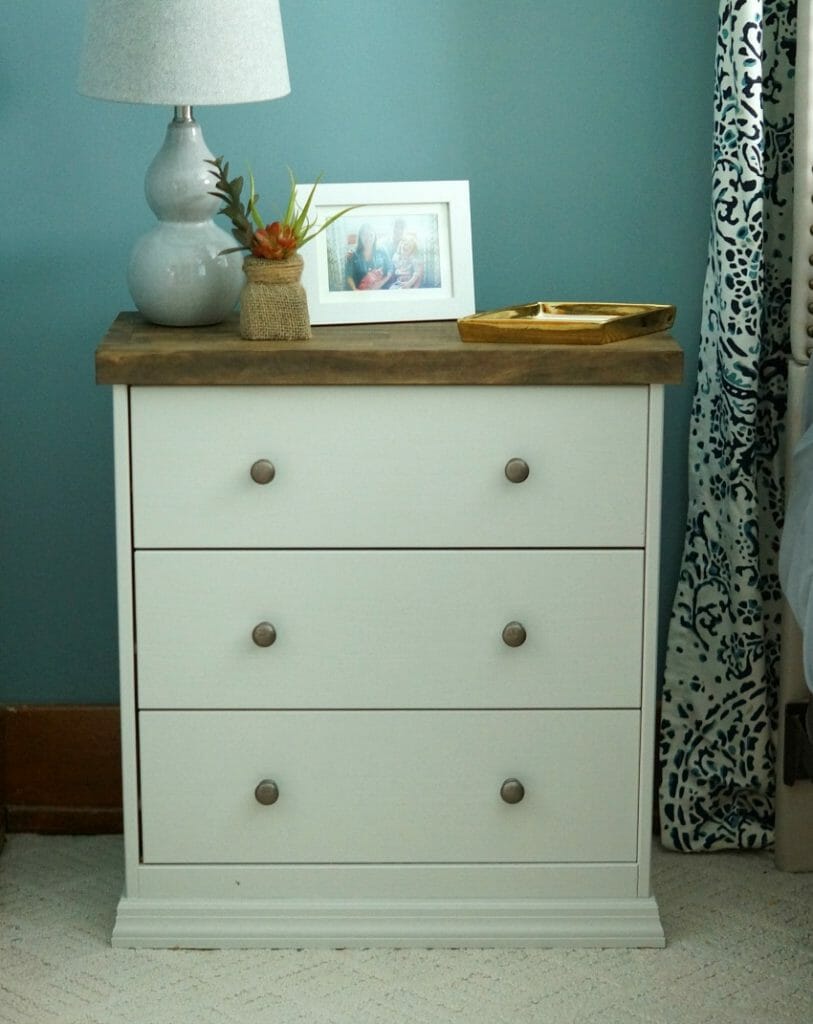
I am happy with how they turned out! I would have loved to update the handles and add more trim work, but that would have taken me way over the budget! I can still add this later if I want! I did purchase wood and trim for the nightstands but I used what I had for the paint and stain! I hope to do a more thorough post on how I put these together. (to be transparent, there is only one nightstand done, the other side isn’t finished yet! oops!)
Before
After
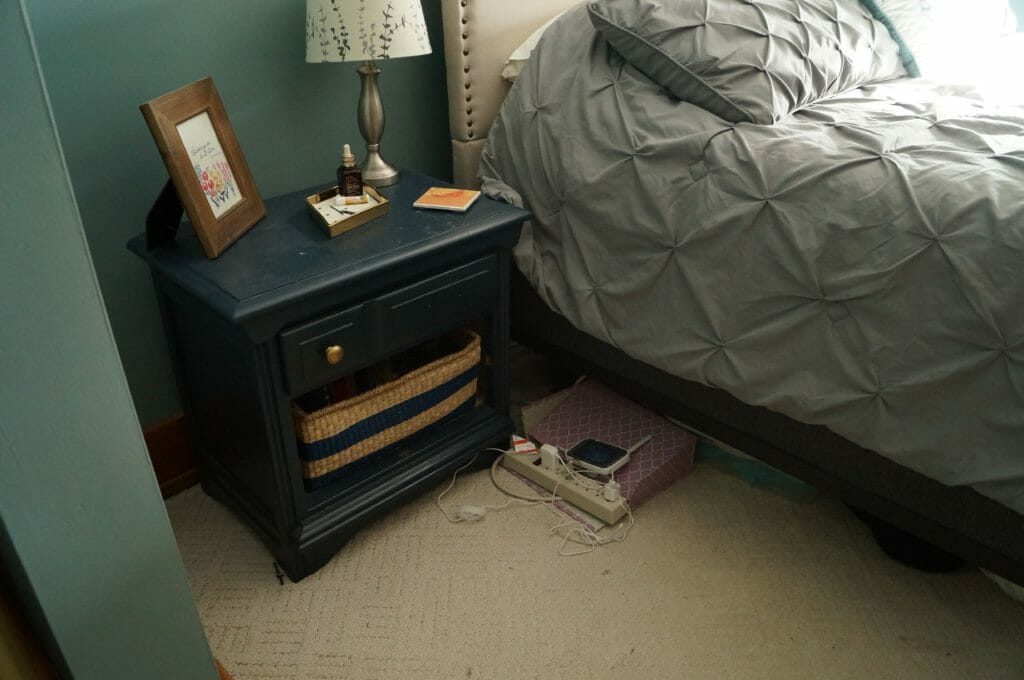
I managed to corral the gaggle of cords that was under my bed as well. The RAST is open on the bottom drawer so I slide my power strip through the back! YES!
Before
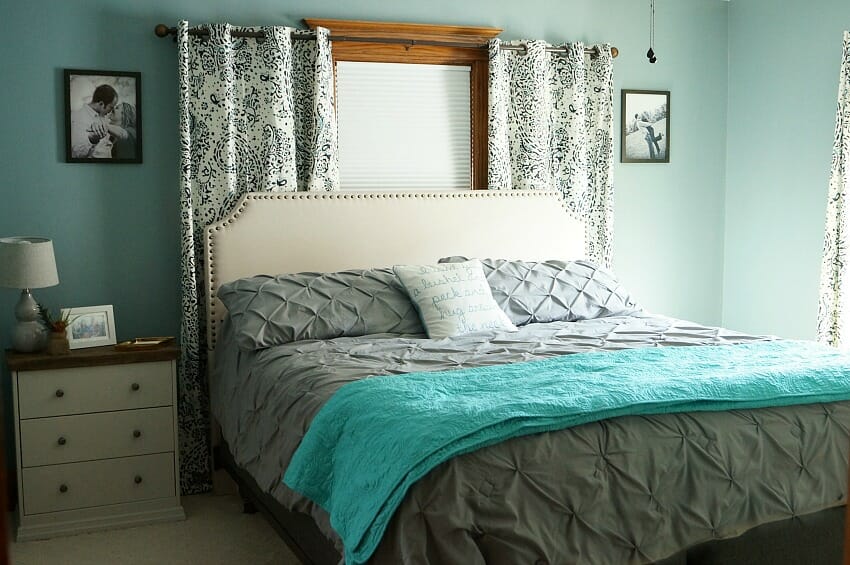
After
No cords on the floor!
 {Lamps} {Shades}
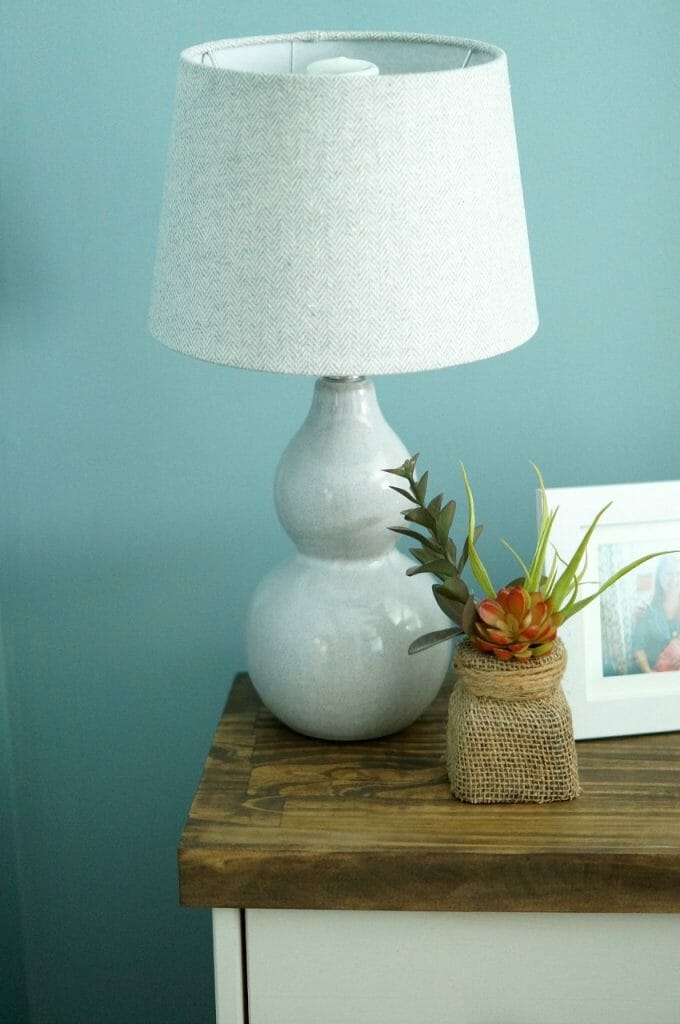
New lamps completed the look! These lamps are so much more my style than the old ones, which we had had foreverrrr. I love the herringbone pattern on the shade.
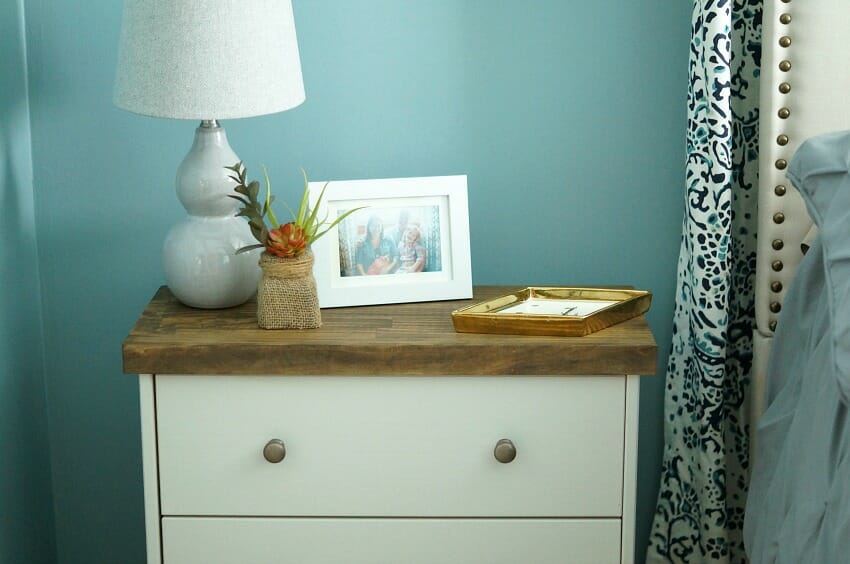
I love this little gold dish from Target that holds my bobby pins and jewelry at night!
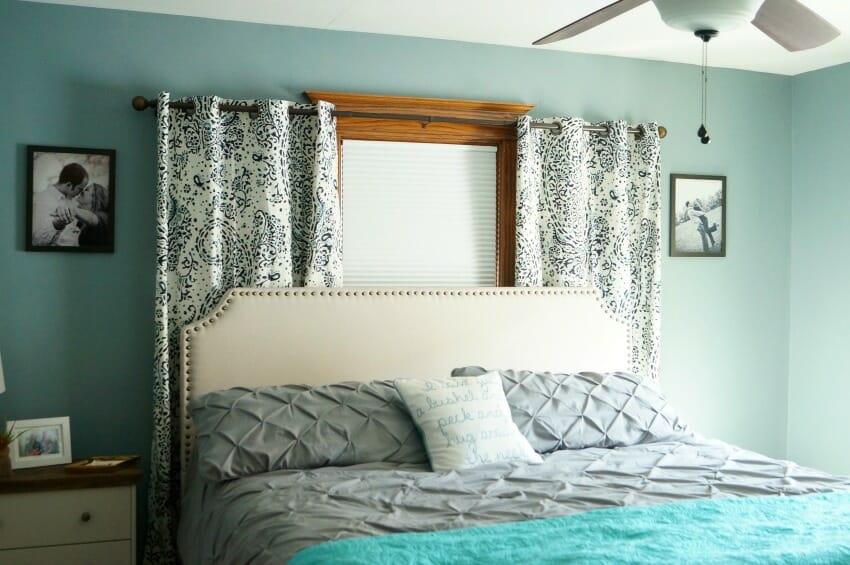
I mentioned in our original post that a year ago we had a fire and we all our linens were sent out to be cleaned. We never ending up rehanging our curtain behind the bed and honestly, I didn’t love how it looked behind the headboard. I decided to buy a much longer curtain rod and stretch the curtains out the length of the bed. I love how this looks! So much more dramatic!
Before
After
So I stuck pretty close to the budget but I did sell our old nightstands and lamps in order to have some extra money toward the room!
Total Spend:
Ikea RASTS $69.98
Trim and wood for RASTS $30
Target Lamps $50
Curtain Rod $9.98
Total Spent: $159.96 Total Sold $55
TOTAL SPENT ON ROOM: $104.96!!
WOOOOHOOOO! Only $4.96 dollars over budget! I’m so happy I was able to do it! Check out all the other room reveals below and check back in March when we are going to complete another challenge!
Looks great! I love how you finished it!
Love the rast makeover! Your room looks amazing!
Those nightstands are super cute and I bet they hold so much! Congrats on finishing the challenge.
Yes they do! I am so happy to free up some room in other drawers!
Your bedroom turned out great. The IKEA piece is so pretty and I love the way you hung the curtains behind the bed. It all comes together so well.
Thank you Patti! I am happy with how it came together!
The Rast looks beautiful as well as the curtains behind the bed!
Thank you! The curtain made such a difference!
Love everything in your bedroom. The side table looks totally transformed. I love the pleated bedspread , the color is so brilliant. I almost bought that exact head board, but ended getting the rounder one.
Maria
Thank you Maria! I love it all too!
Looks great! It is so calm and soothing in there now!
That nightstand turned out beautifully! Perfect for your room. The longer curtain rod was a brilliant idea. I’m loving the curtains framing the bed. So fun to have you join the challenge!
That is brilliant to widen that window by hanging the curtains on a longer rod! Those curtains are beautiful and now they really show up. And there’s a reason why everyone keeps going back to the Rast, they look great! The whole room looks so pretty and cozy now.
So pretty!! I love the Rast makeover. It looks like an expensive piece of furniture now.
The curtain behind the bed makes such a difference! I love where you hung it, so we can still see that pretty window trim. Lovely solution for your night stand and cords. I really love how you stay true to the house! Beautiful job.
Looks great! The curtains behind the bed really bring it all together 🙂
Those nightstands work so well! I know you struggled over which to get and I hope you love your choice because they look great!
I love how your bedroom turned out, Amanda! Your nightstands are perfect and the curtains behind the bed really add a romantic feel to the room!
I love your hack! I can’t wait to see how you detailed it and added the top. The curtains behind the bed are the perfect finishing touch too!
Love the room color combo of aqua, gray and ivory and your rask hack and new lamps only make it stand out more. Gorgeous!!