
Living in an older house brings a lot of unique character to the table—think original hardwood floors and solid wood details that are almost impossible to find in new construction. But the kitchen often presents a real challenge. Older kitchens simply weren’t designed for how we cook today. They usually lack counter space, have awkward electrical layouts, and feature aging built-in appliances.
If tearing the space down to the studs just isn’t in your budget this year—or if you are currently focusing your renovation efforts on other parts of the house—you still need a practical way to get dinner ready. Here is how to work with your old kitchen’s layout and improve your daily workflow without knocking down any walls.
1. Clear the Countertop by Combining Cooking Functions
Counter space is usually the first thing you run out of in an older home. Leaving multiple small gadgets out on the counter completely eats up your prep area. One practical way to reduce countertop clutter is to choose an appliance that can handle several everyday cooking tasks at once.
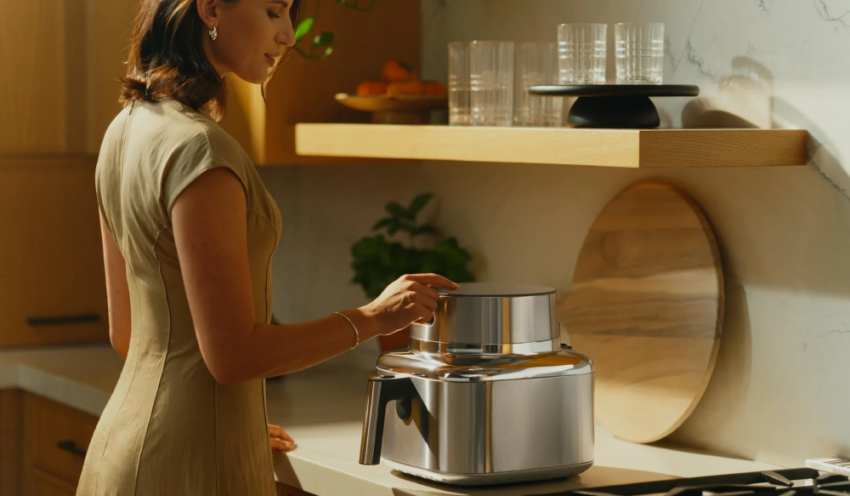
An air fryer oven combo can take the place of smaller appliances like a basic toaster or dehydrator, giving you another option for baking, roasting, and other quick meals without requiring a permanent kitchen remodel. Consolidating these functions frees up that much-needed space for chopping, mixing, and general meal prep.
2. Match the Appliance to the Meal
We all know older built-in ovens can have a mind of their own, and waiting 20 minutes for one to preheat gets old fast. Furthermore, running a large, older oven for a small dinner can make the kitchen uncomfortably warm, which isn’t ideal when you’ve been working on house projects all day.
Instead of always defaulting to the stove, try to match the size of your appliance to the meal you are making. For smaller meals, an air fryer can often heat up and cook food more quickly than a full-size oven, while producing less heat in the surrounding kitchen. That can be especially useful when you’re already spending the day sanding floors or painting trim and just need to get food on the table efficiently.
3. Create a Flexible Cooking Station
Older homes often have only one or two usable outlets in the kitchen, sometimes tucked into the most impractical spots imaginable. If your kitchen layout leaves one countertop area completely unworkable, consider alternative storage and prep surfaces.
A sturdy rolling cart can give you a flexible place for countertop appliances without committing to built-in cabinetry. Place your countertop oven or air fryer on the top shelf, and use the bottom tiers to store cutting boards, spices, and cooking oils. Just make sure the appliance is plugged into an appropriate kitchen outlet and that the circuit can safely handle its power requirements before setting up a permanent routine.
4. Keep a Few Fast Recipes in Your Renovation-Day Rotation
When you are balancing DIY projects with daily life, having a few reliable, fast recipes keeps you from ordering takeout every single night. Here is a simple option that comes together quickly when you are completely exhausted from working on the house.
Quick Garlic Parmesan Chicken Bites
Ingredients:
- 2 boneless, skinless chicken breasts (chopped into bite-sized cubes)
- 1 tablespoon olive oil
- 1/2 teaspoon garlic powder
- 1/4 teaspoon paprika
- A pinch of salt and black pepper
- 1/4 cup grated Parmesan cheese
Instructions:
- Grab a mixing bowl and toss your diced chicken with the olive oil, garlic powder, paprika, salt, and pepper until all the pieces are well-coated.
- Arrange the chicken in your appliance’s basket. Try to keep everything in a single layer so the hot air can circulate and crisp up the edges properly.
- Cook at 380°F (190°C) for about 10 to 12 minutes. You’ll want to pull the basket out and give it a good shake around the halfway mark. Use a meat thermometer to verify the thickest pieces have reached a safe internal temperature of 165°F (74°C).
- Once they are fully cooked, carefully move the hot chicken bites into a clean bowl, sprinkle the Parmesan over the top, and toss them one last time to coat.
- Plate them up immediately alongside a quick salad or some easy roasted vegetables.
5. Improve the Workflow Before You Remodel
It is tempting to look at a cramped old kitchen and assume that only a massive demolition will fix it. However, it is often better to solve your workflow issues first, before you finalize any hard remodeling plans.
By consolidating countertop appliances into a dedicated prep zone, organizing your spices on a rolling cart, and observing where you naturally want to stand while cooking, you learn how you actually use the space. You might find that a smarter layout and a few targeted countertop upgrades solve the biggest frustrations. This practical approach helps you figure out exactly which parts of the kitchen actually require a structural renovation when the time comes.
Make the Old Kitchen Work for You
Dealing with an outdated kitchen layout requires a little bit of creativity. By rethinking your countertop setup, matching your cooking methods to the task, and optimizing your work zones, you can make the space highly functional right now. You don’t have to wait for brand-new cabinets to start enjoying your time in the kitchen.