In the world of home improvement, DIY projects are more popular than ever, offering homeowners the satisfaction of creating something personal and unique for their living spaces. Among these projects, crafting custom shelves stands out as an ideal way to add both functionality and style to your home. Whether you’re looking to maximize storage, display cherished items, or simply add a decorative touch, building your own shelves allows you to design solutions that perfectly suit your needs. This guide will take you through the process, from planning to execution, with tips on materials, tools, and creative customization.
Why DIY Custom Shelves?
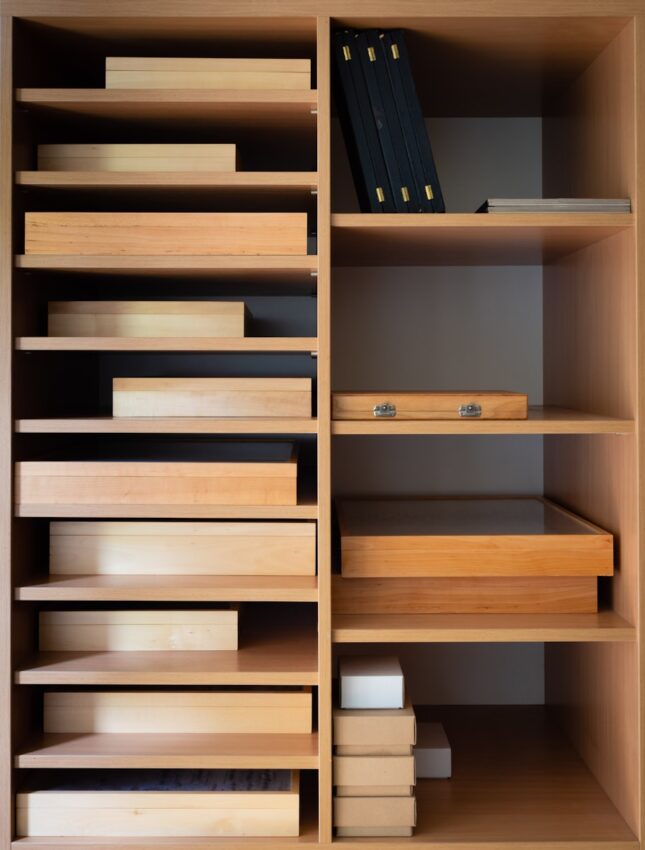
Opting to craft your own custom shelves comes with several advantages. First and foremost is personalization. When you design your own shelves, you have complete control over their size, shape, material, and finish. This means you can create shelves that not only fit your space perfectly but also match your home’s aesthetic. Whether you prefer a modern, minimalist look or a rustic, farmhouse style, DIY shelves can be tailored to meet your exact specifications.
Another significant benefit is cost-effectiveness. Pre-made shelves, especially custom ones, can be expensive. By building them yourself, you can save a considerable amount of money. Plus, DIY projects often allow you to repurpose materials you already have, further reducing costs.
Lastly, crafting your own shelves offers a unique opportunity for creative expression. You can experiment with different materials, colors, and designs, making each shelf a one-of-a-kind piece. The satisfaction of seeing your vision come to life is something that store-bought shelves simply can’t offer.
Planning Your Custom Shelves
Before you start cutting wood and assembling pieces, it’s crucial to plan your project carefully. Begin by assessing your needs. What do you want these shelves to hold? Are they primarily for storage, or will they be used to display decorative items? Understanding the purpose of your shelves will guide your design choices.
Next, measure the space where the shelves will be installed. Accurate measurements are key to ensuring the shelves fit perfectly and function well in the designated area. Consider both the height and width of the space, as well as the depth of the shelves, to avoid creating something too large or too small for your needs.
Finally, think about design considerations. Choose a style, material, and finish that complements your existing décor. Whether you opt for a sleek, modern design or a more traditional look, your shelves should enhance the overall aesthetic of the room.
Must-Have Tools for Crafting Custom Shelves
To successfully complete your DIY shelving project, you’ll need the right tools. Basic tools such as a tape measure, level, screwdriver, hammer, and pencil are essential for any DIY project. However, for cutting and shaping materials, power tools like a drill, jigsaw, circular saw, and power sander are invaluable.
If you’re working with particularly tough materials or need precise cuts, consider using a cold saw. Cold saws offer cleaner cuts without overheating the material, which is especially useful for metal brackets or other non-wood components. You can find a variety of cold saws for sale in Onix Machinery, which provides quality tools for both amateur and professional builders.
Additionally, specialty tools such as a stud finder, clamps, and wood glue will help you ensure your shelves are securely mounted and properly assembled. Don’t forget safety equipment like goggles, gloves, and ear protection to protect yourself during the project.
Choosing the Right Materials
The choice of materials is another crucial aspect of your DIY shelving project. Wood is the most common material used for shelves, with options ranging from affordable pine to durable oak or eco-friendly reclaimed wood. Each type of wood has its pros and cons, so choose one that fits your budget and aesthetic preferences.
In addition to the shelves themselves, you’ll need to select appropriate brackets and supports. These not only provide necessary stability but also contribute to the overall look of your shelves. Make sure the brackets can support the weight of the items you plan to place on the shelves.
Lastly, consider the finishes and paints you’ll use. Staining, painting, or sealing the wood can protect it from wear and tear while enhancing its appearance. The finish you choose should align with the style of the room and the look you want to achieve.
Step-by-Step Guide to Building Your Shelves
Once you’ve planned your project and gathered your materials, it’s time to start building. Begin by cutting the wood to the desired dimensions, ensuring each piece is measured accurately. Sanding and prepping the wood will smooth out any rough edges and prepare the surface for finishing.
Next, move on to assembling the shelves. Attach the brackets to the wood, making sure they’re evenly spaced and aligned. Finally, mount the shelves on the wall, taking care to ensure they’re level and securely attached.
Customization Tips for Unique Designs
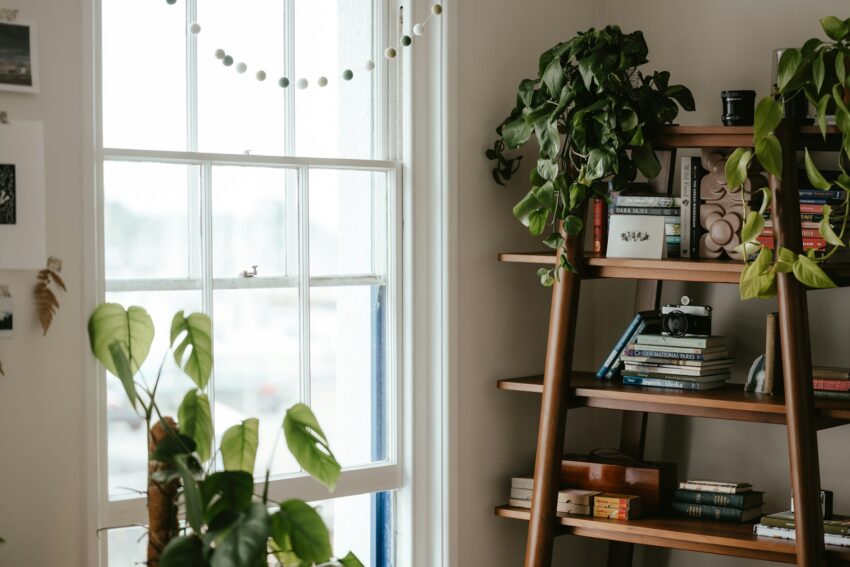
One of the best parts of crafting your own shelves is the ability to customize them to your liking. Consider incorporating decorative elements like built-in lighting or unique finishes to add a personal touch. You can also experiment with creative layouts, such as staggered or corner shelves, to make your design stand out.
For an eco-friendly project, think about repurposing materials. Reclaimed wood or other recycled materials can add character and sustainability to your shelves.
Conclusion
Crafting custom shelves is a rewarding DIY project that allows you to create storage solutions that are both functional and stylish. With careful planning, the right tools, and a little creativity, you can build shelves that perfectly suit your needs and enhance your home’s décor. So, gather your materials, plan your design, and start crafting today! The satisfaction of creating something unique and personal is well worth the effort.