Old wood floors can add character and timeless beauty to your home. However, years of wear and tear can leave them scratched, stained, and dull. Restoring them can be a rewarding DIY project that enhances your home’s value and aesthetic appeal. Here’s a comprehensive step-by-step guide to bringing your old wood floor back to life.
1. Assess the Condition of Your Floors
Before diving into the restoration process, take time to examine the condition of your wood floors. Start by checking for surface scratches, which can often be fixed with minor sanding. Look for any deep gouges that might require filling with wood filler. Pay attention to stains and discoloration, determining whether they penetrate wood or are only on the surface.
Additionally, inspect for loose, squeaky boards. If you find any, consider nailing or screwing them back into place. If the damage appears extensive or beyond DIY capabilities, consulting a professional may be a wise decision.
2. Gather Your Tools and Materials
Before starting the restoration, gather all the necessary tools and materials to ensure a smooth process. You’ll need sandpaper in various grits for different stages of sanding, along with a floor sander, which can be rented if you don’t own one. An edge sander will help reach corners and edges the main sander can’t access.
Have wood filler and a putty knife on hand to repair any deep gouges or cracks. To keep the workspace clean, use a vacuum and mop to remove dust and debris, followed by a tack cloth for a final wipe-down. Select a stain that fits your desired look if you plan to change the floor’s color. Lastly, choose a water- or oil-based polyurethane finish, and use brushes and rollers for application.
3. Prepare the Room
Begin by clearing the space of all furniture, rugs, and decor to create an unobstructed work area. Next, seal the room by closing vents and covering doorways with plastic sheeting to prevent dust from spreading to other parts of your home.
Finally, inspect the floor for any protruding nails and countersink them as needed to avoid damaging your tools or creating a hazard during the sanding process. Proper preparation will make the restoration smoother and safer.
4. Sand the Floors
Begin sanding the floors by using coarse-grit sandpaper, typically 36 to 40 grit, for the first sanding pass to strip away the old finish and level uneven areas. Work insections, moving the sander along the wood grain in steady, even strokes to avoid creating uneven patches.
After the initial pass, switch to medium-grit sandpaper, such as 60 to 80 grit, to refine the surface. Finish with fine-grit sandpaper, around 100 to 120 grit, to achieve a smooth, polished floor. For edges and corners that the main sander can’t reach, use an edge sander to ensure the entire surface is evenly prepared. Proper sanding sets the stage for a flawless finish.
5. Apply Wood Stain (Optional)
Applying wood stain can enhance the natural beauty of your floors and match them to your home’s decor. Start by selecting a stain color that complements your interior design. Before committing to the entire floor, apply a test patch in a small area to ensure the color meets your expectations.
Once satisfied, use a brush or cloth to apply the stain evenly, working along the wood grain for a consistent finish. Be sure to wipe off any excess stain promptly to prevent blotchy spots. Allow the stain to dry completely, following the manufacturer’s recommendations.
6. Apply a Protective Finish
Applying a protective finish is crucial for sealing the floor and safeguarding it from future damage. Start by selecting the right finish based on your needs. Water-based polyurethane dries quickly with minimal odor, while oil-based polyurethane offers a deeper, richer tone. Apply the first coat using a roller or brush, ensuring thin, even coverage along the wood grain. Allow the floor to dry completely and lightly sand the surface with fine-grit sandpaper to smooth out any imperfections.
7. Reinstall Furniture and Decor
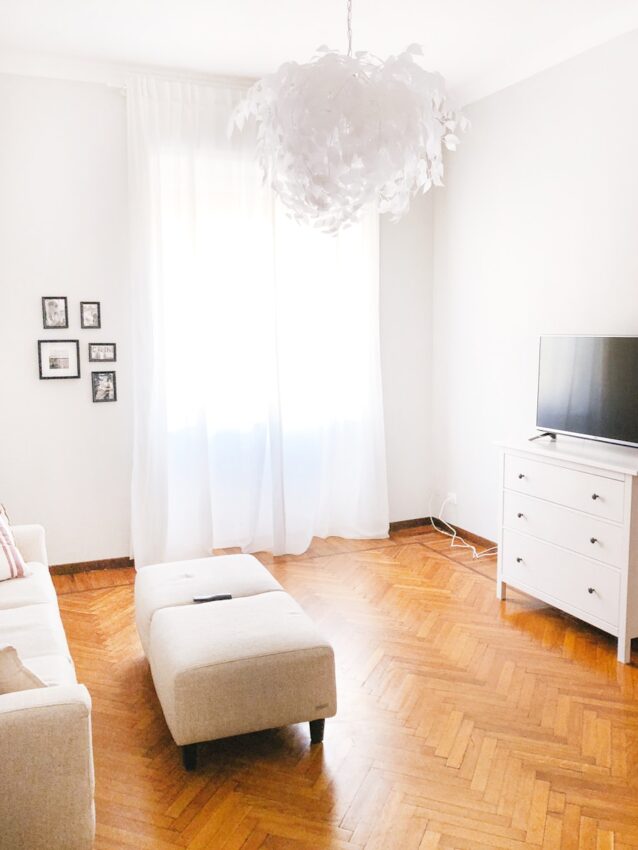
Once the floor is fully cured, usually after two to three days, you can move furniture back in. Consider adding decorative floor lamps to enhance your room’s ambiance while highlighting your beautifully restored floors.
8. When to Hire a Professional
While DIY wood floor restoration can be cost-effective, certain situations call for professional assistance. If your floors have suffered severe water damage, expert repair may be necessary to address the underlying issues properly. Deep structural problems, such as warped or buckling boards, could indicate more serious concerns that require specialized attention.
Additionally, if you have limited time or lack experience with floor restoration, hiring a professional can ensure the job is completed efficiently and to a high standard. Recognizing when to seek expert help can save time and money.
Endnote
Restoring old wood floors can be labor-intensive but highly rewarding. With the right tools, patience, and attention to detail, you can transform worn, tired floors into stunning focal points in your home. Enjoy the warmth, charm, and history that beautifully restored wood floors bring to your living space.