Renovating an older home is exciting, but it can quickly become expensive if you tackle projects in the wrong order. Fresh paint and new flooring may feel like progress, yet hidden systems behind the walls often determine whether those upgrades last. Older homes were built for different standards, materials, and daily demands than modern households require today.
Before you choose tile or cabinetry, you need to decide what truly deserves attention first. Strategic upgrades protect your investment, prevent costly rework, and preserve the character that drew you to the home in the first place.
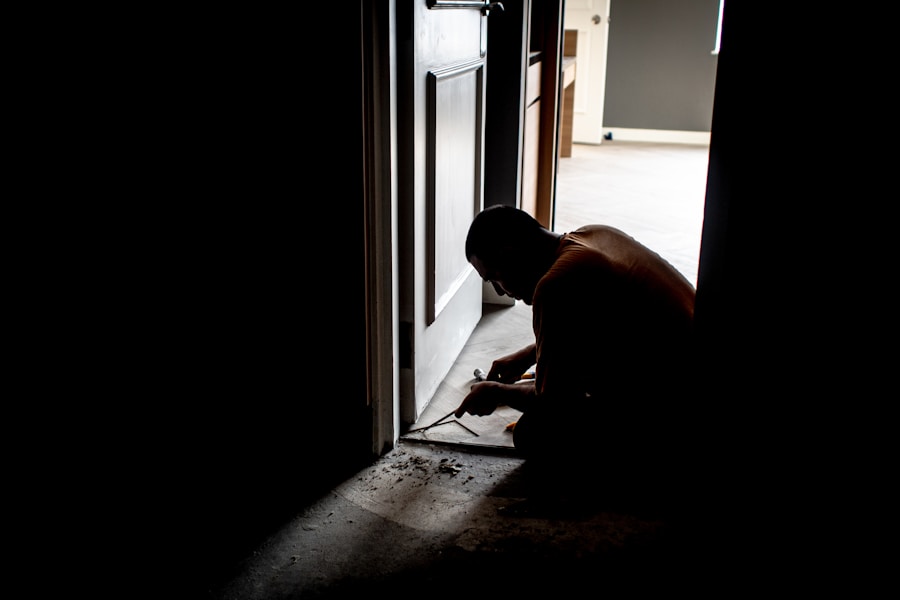
Plumbing Infrastructure Comes First
Plumbing should be the first system you evaluate in an older home. Water moves through nearly every room, and aging pipes often sit hidden behind walls and beneath floors. If those lines fail, damage spreads quickly and silently before you notice visible signs.
Many older homes still rely on galvanized steel or cast iron pipes that corrode from the inside out. Mineral buildup restricts flow, joints weaken, and small leaks develop along seams. Low pressure, discolored water, and slow drains often signal larger problems deeper in the system.
Ignoring outdated plumbing while renovating invites expensive setbacks. Installing new cabinets or flooring before assessing pipes can mean tearing everything back out later. A single concealed leak can compromise framing, insulation, and finished surfaces you just paid to upgrade.
Before committing to design changes, consult professionals who can provide trusted plumbing solutions. A thorough assessment helps you plan layout adjustments, protect structural materials, and move forward with confidence instead of guesswork.
Stabilize the Structure Before Anything Cosmetic
Once plumbing is addressed, turn your attention to the home’s structural integrity. Older properties often show signs of settling, shifting foundations, or sagging floor joists. These issues may seem minor at first glance, but they can compromise every upgrade that follows.
Cracks in walls, uneven floors, and sticking doors often point to movement beneath the surface. Roof deterioration or weakened framing can allow moisture to enter, accelerating decay. Left unresolved, structural problems quietly undermine cabinetry, tile work, and trim.
Moisture compounds the risk. Damp crawlspaces, poorly ventilated attics, and foundation seepage create conditions for rot and mold. Even small amounts of recurring moisture can weaken wood framing over time and reduce the lifespan of new finishes.
Stabilizing the structure first ensures that cosmetic improvements rest on a solid foundation. When the framework is secure and dry, every dollar spent on design upgrades delivers lasting value instead of temporary results.
Modernize Electrical for Safety and Capacity
After plumbing and structural concerns are addressed, evaluate the electrical system. Many older homes were wired for far fewer appliances and lower overall demand. Today’s kitchens, laundry areas, and home offices require more circuits, grounded outlets, and higher-capacity panels.
Outdated systems such as knob-and-tube wiring or fuse boxes present safety risks and may not meet current code requirements. Aluminum wiring and overloaded circuits increase the chance of overheating and fire. Insurance providers often scrutinize these systems during policy reviews.
Upgrading the electrical panel and rewiring where necessary also supports your renovation plans. New lighting layouts, appliance installations, and bathroom upgrades depend on reliable power distribution. Addressing electrical work while walls are open prevents costly rework and ensures your home functions safely and efficiently for years to come.
Evaluate HVAC and Insulation While Walls Are Open
Heating and cooling systems often show their age in older homes. Furnaces may operate inefficiently, ductwork can leak air, and ventilation may fall short of modern standards. Addressing HVAC early improves comfort and prevents uneven temperatures from room to room.
When walls or ceilings are already open for plumbing or electrical work, it makes sense to inspect duct runs, replace outdated equipment, and improve airflow. This stage also offers an ideal opportunity to upgrade insulation in exterior walls and attics.
Improved insulation and efficient HVAC systems work together to reduce energy waste and stabilize indoor humidity. That balance protects wood floors, trim, and cabinetry from expansion and contraction. Upgrading these systems before closing walls ensures long-term performance and avoids tearing into finished spaces later.
Plan Layout Changes After Systems Are Addressed
With plumbing, structure, electrical, and HVAC evaluated, you can plan layout changes with clarity. Moving walls, relocating fixtures, or expanding a kitchen requires confidence that the systems behind those surfaces are reliable and properly positioned.
In older homes, walls often conceal unexpected pipe runs, outdated wiring paths, or load-bearing elements. Redesigning without understanding those constraints leads to delays and costly revisions. A system-first approach gives you accurate information before finalizing plans.
Kitchen and bathroom remodels benefit most from this sequencing. Once infrastructure is upgraded, relocating sinks, adding islands, or installing new showers becomes more straightforward. You design around stable systems rather than forcing adjustments later. That order preserves your budget and keeps the renovation moving efficiently.
Protect the Exterior Envelope to Safeguard Interior Work
After interior systems and layout changes are complete, turn your focus outward. The exterior envelope (roofing, siding, windows, and doors) shields everything you have upgraded inside. If that barrier fails, moisture and temperature fluctuations will undo your progress.
Older windows may leak air and allow water intrusion during storms. Worn roofing materials and deteriorated flashing create entry points for moisture that travels into insulation and framing. Even small gaps around doors can introduce drafts and humidity.
Improving the exterior envelope protects structural components and supports energy efficiency. Sealing, repairing, or replacing key exterior elements ensures that plumbing, electrical, and HVAC upgrades perform as intended. When the home is properly sealed from the outside, your interior renovations gain long-term durability.
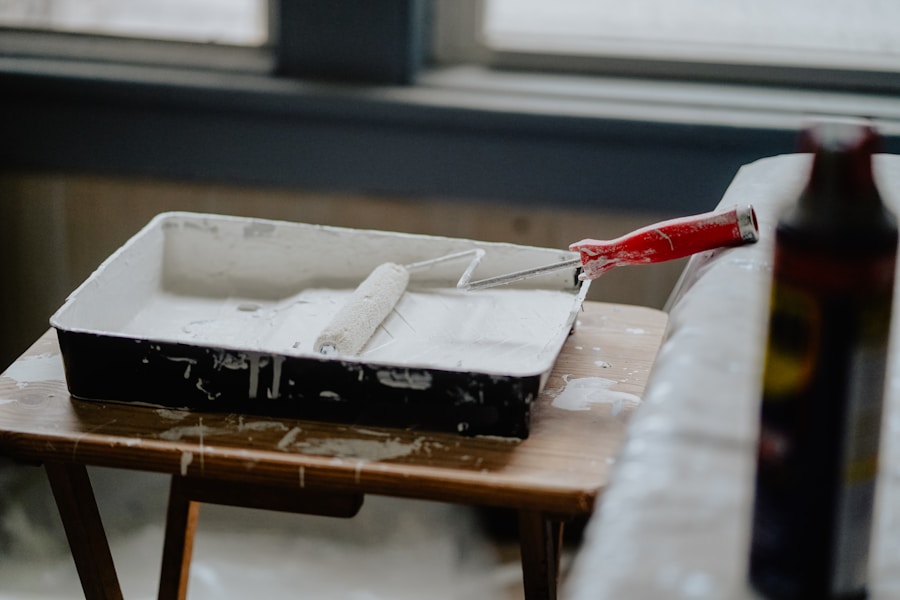
Cosmetic Finishes Should Always Come Last
Cosmetic updates often generate the most excitement during a renovation. Fresh paint, new flooring, updated trim, and modern fixtures transform how a space looks and feels. However, these improvements depend entirely on the systems beneath them.
Installing finishes too early exposes them to damage from plumbing adjustments, electrical rewiring, or structural corrections. Dust, debris, and unexpected access points can quickly ruin new surfaces. Replacing recently installed materials wastes both time and money.
When finishes come last, they complete the renovation instead of complicating it. With plumbing, structure, electrical, HVAC, and layout decisions settled, cosmetic upgrades enhance a stable foundation. This order ensures that visual improvements last and reflect the quality of the work behind the walls.
Wrapping Up
When renovating an older home, the smartest upgrade is rarely the most visible. Start with what protects everything else. By prioritizing plumbing and core systems before design details, you build confidence into every decision that follows. Upgrade the essentials first, and your renovation becomes an investment in longevity, not just appearance.