
You’ve opened your notebook at the kitchen table, but someone needs a snack, the laundry is buzzing, and your charger has disappeared again. By the time you clear away the mail, half your study window is gone. Studying at home often means working around ordinary family life, not finding perfect peace and quiet.
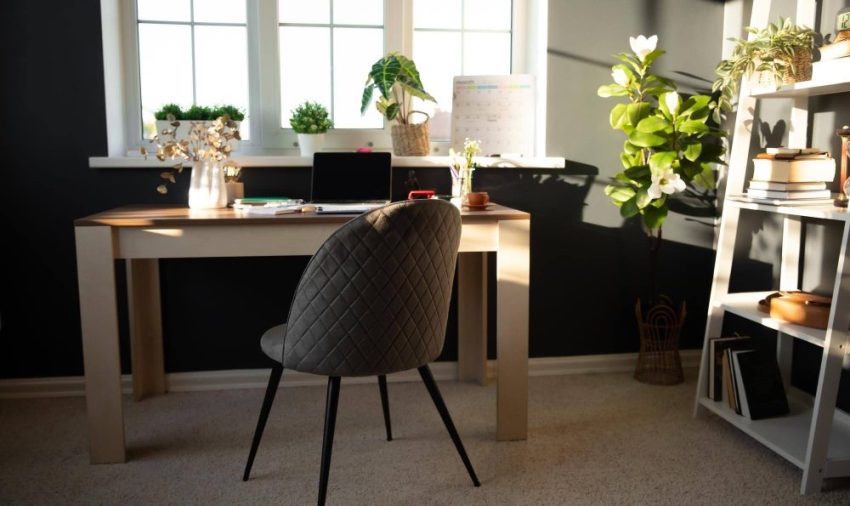
A few thoughtful changes can make a small corner easier to use and much easier to tidy. Start with the furniture you have, fix the things that bother you most, and leave the bigger purchases for later.
1. Pick a Spot That Fits Your Household
Before moving furniture, notice what happens around the house when you usually study. A hallway nook might look lovely but sit right in everyone’s path. One end of the dining table may work better once dinner is finished. If shared rooms stay busy, consider a bedroom study corner with a work surface separate from the bed.
- Choose a spot with enough room for your notebook, device, and elbows.
- Check whether you can reach an outlet without running a cord across a walkway.
- If the room is shared, agree on a study window and where your materials will go afterward.
- Face a plain wall if watching household activity keeps pulling you away.
2. Make Existing Furniture More Comfortable
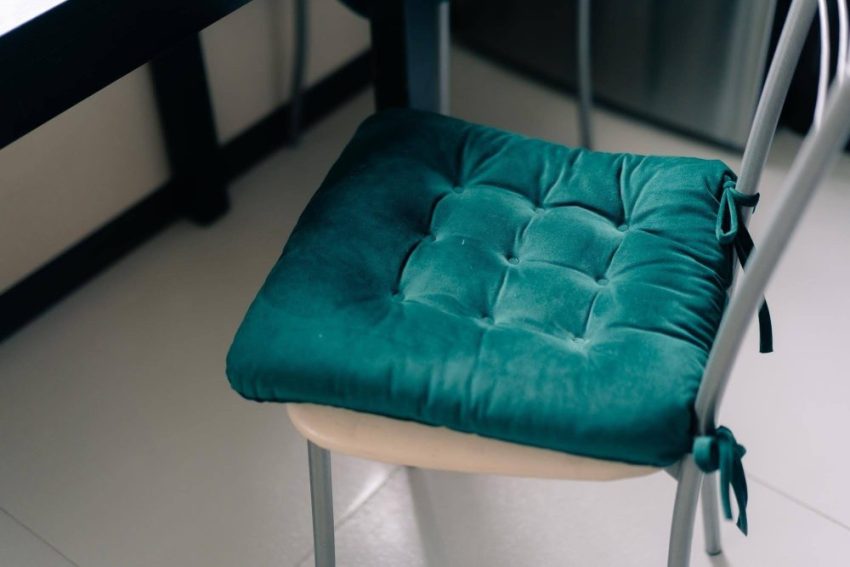
Try your current table and chair before buying a desk. Sit down with an actual assignment and notice what feels awkward: dangling feet, raised shoulders, or a screen that makes you bend forward. Adjust one thing at a time.
- Use a firm cushion behind your lower back if the chair feels too deep.
- Rest your feet on a sturdy, low box if they don’t reach the floor.
- Keep books and supplies out of the space your knees need.
- If you already have a separate keyboard and mouse, raise your laptop on a stable stand or broad stack of books.
3. Improve the Light Without Rewiring
Try studying in your chosen spot during both daylight and evening hours. A window can be helpful at noon and leave you squinting by supper. Before buying anything, borrow a lamp from another room and test a few positions.
- Place a lamp opposite your writing hand so your hand casts less shadow across the page.
- Turn your screen away from bright reflections rather than automatically increasing its brightness.
- Use an existing curtain or blind to soften strong sunlight.
- Keep lamp cords tucked behind furniture, clear of feet and chair legs.
4. Give Everyday Supplies One Small Home
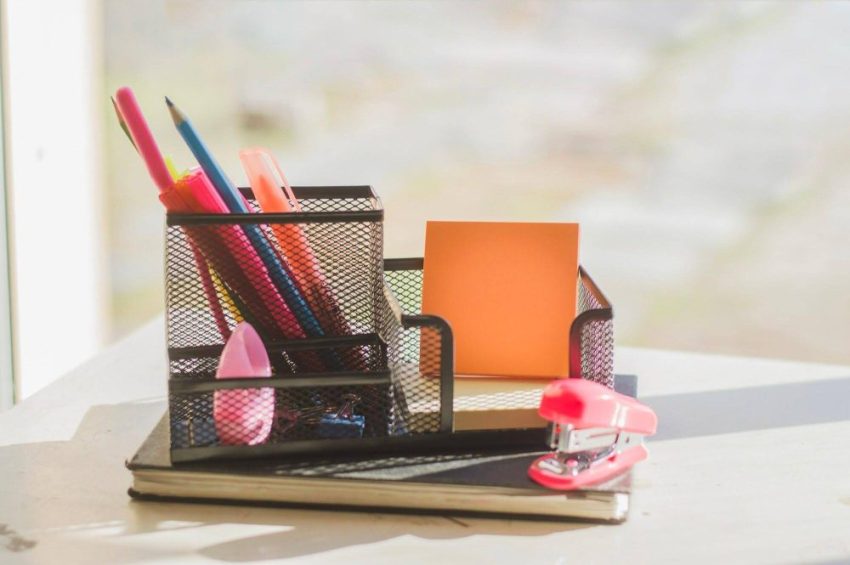
Gather only the supplies you use daily; keep spares off your work surface.
- Wash and reuse a sturdy food tub for pens, pencils, and a ruler.
- Make a drawer organizer from small cardboard gift boxes: trim them to fit below the drawer’s rim, then tape their sides together. Give pens, erasers, and paper clips separate compartments.
- Put spare supplies in a labeled shoebox elsewhere.
- Use a handled basket for a portable kit if you study at a shared table.
5. Sort Papers Before They Become Piles
Keep loose pages in three simple categories, adding more only when you need them.
- Label reused folders “Working On,” “To Hand In,” and “Keep.”
- Make a folder holder from an empty cereal box: cut off the top and trim the sides diagonally, leaving a taller back. Cover it with leftover wrapping paper, securing loose edges with tape.
- Date loose notes and write the subject at the top.
- Keep a model essay from an essay and assignment writing service such as https://assignmentnerds.com in the “Working On” folder beside your draft to compare source placement and section structure.
6. Plan for Putting Everything Away
If your study space doubles as a dinner table or craft corner, plan storage nearby so packing up takes one trip.
- Choose a shelf, cupboard space, or under-table spot for your study basket.
- Keep your current folder at the front so it comes out first next time.
- Clip a few binder clips to the edge of the desk, then thread disconnected charging cables through the wire handles. The plugs keep the cables from slipping to the floor.
- Add one small comfort, such as a favorite mug or washable seat cushion, rather than crowding the surface with decorations.
Final Thoughts
Start with the problem that interrupts you most, whether that’s poor light, missing supplies, or an uncomfortable chair. Try a low-cost fix for a week before adding anything else. Your study space doesn’t need to look finished; it needs to work for your everyday life.
FAQ
What if I don’t have room for a desk?
Use a dining table or another stable surface, with a basket to hold supplies between sessions.
How can I study when the house is noisy?
Agree on a quiet period for reading or calls. If that isn’t practical, save tasks that need less concentration for the busiest hours and schedule focused work for a quieter time.
How can two children share a study area?
Give each child a labeled folder and supply container. Stagger study times if the surface feels cramped.
How do I keep the space from getting messy again?
Put papers into their folders and return supplies to their container after each session. Keep spare materials elsewhere.