 I know that for everyone, school supply organization is always a major concern. Not only do I worry about where to put all the stuff at home, but I stress about organizing my classroom so that it is conducive for everyone. Storage needs to be easy accessible, portable, and most of all, maintainable. We all know that no matter how great an organizational system looks, if you can’t maintain in, there’s really no point.
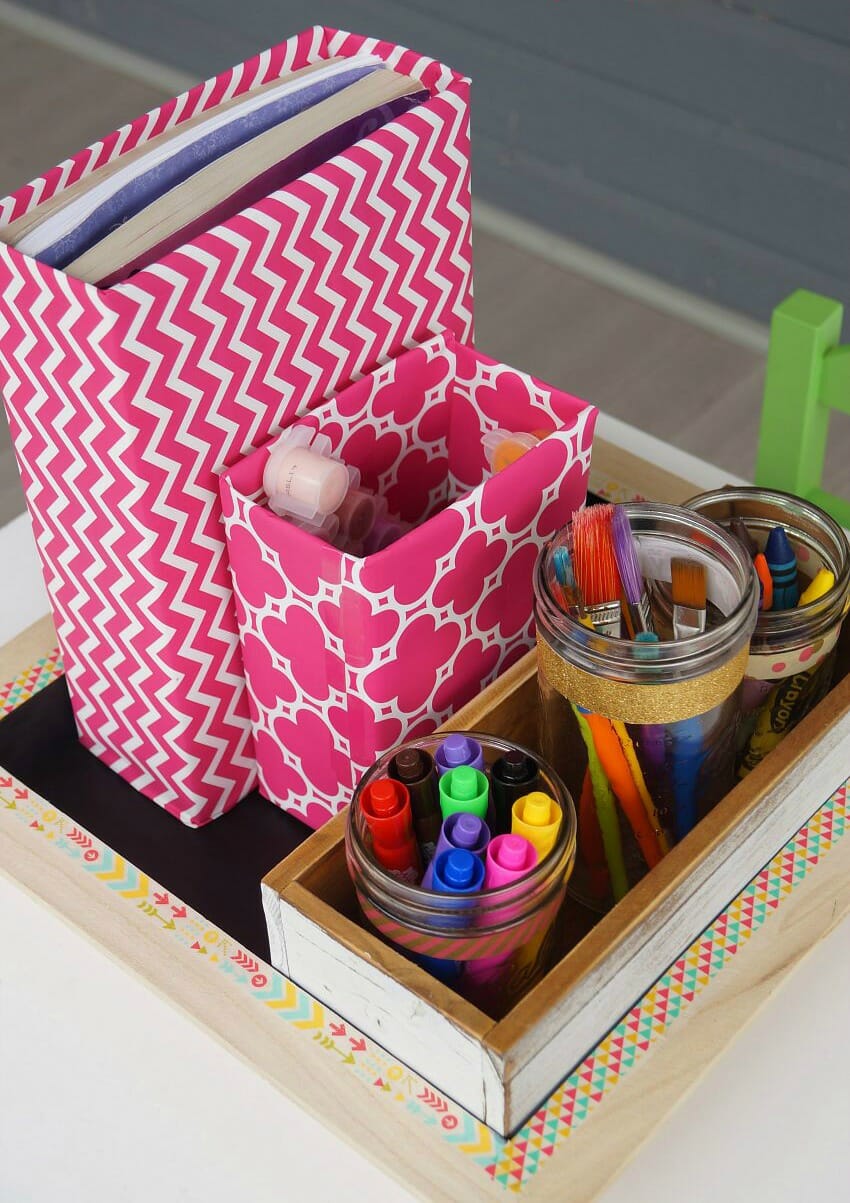 you won’t believe what those boxes are made of! Food boxes! The big one is cereal and the smaller was a rigatoni box! I also already had the mason jars on hand, so really only needed to buy the shadow box and small white box. I love when organizing projects are not only easy, but inexpensive as well!
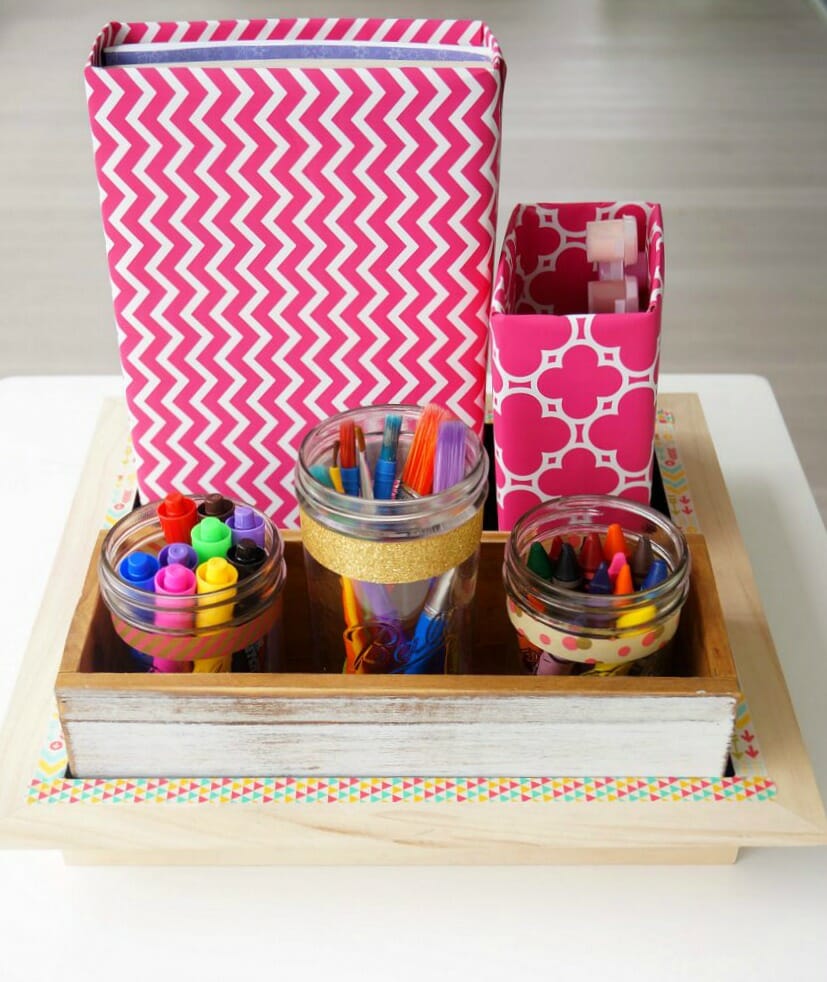
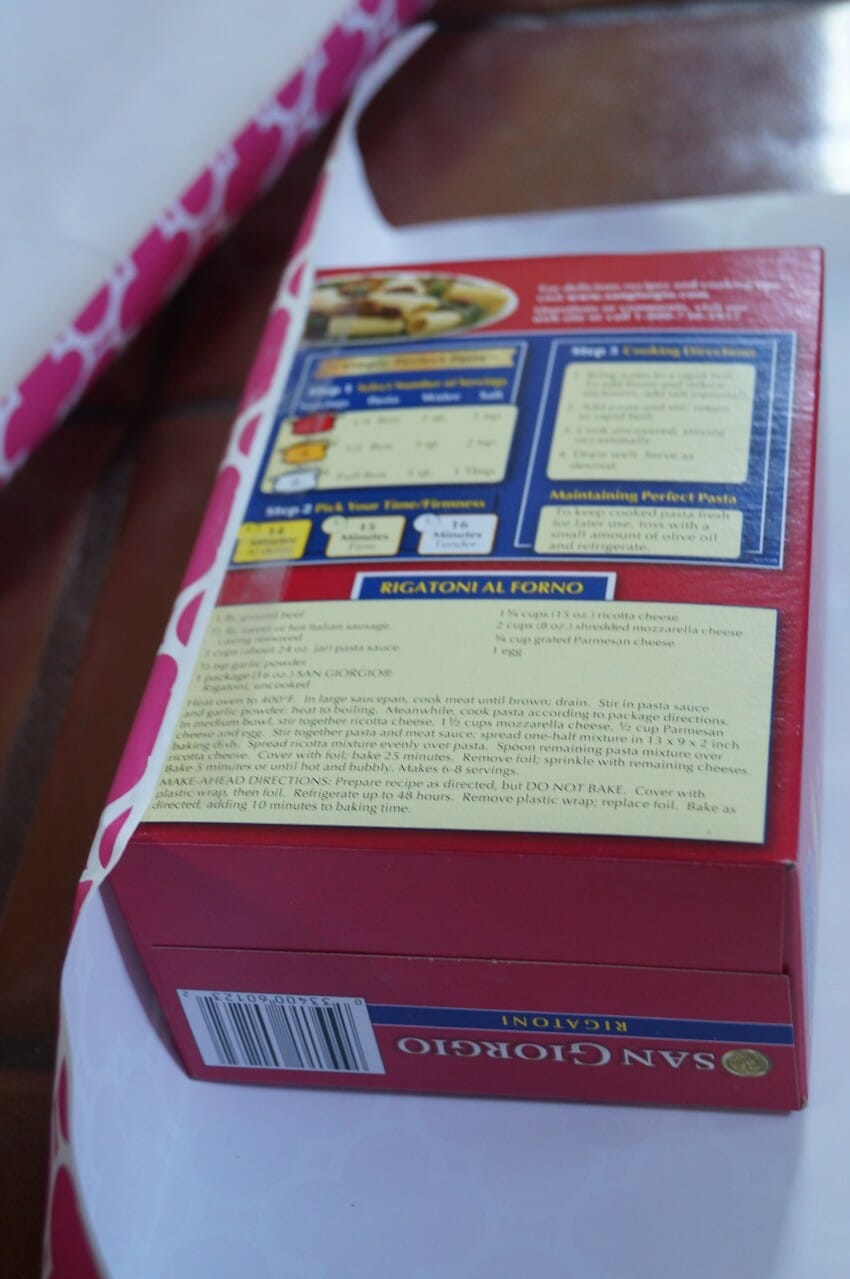
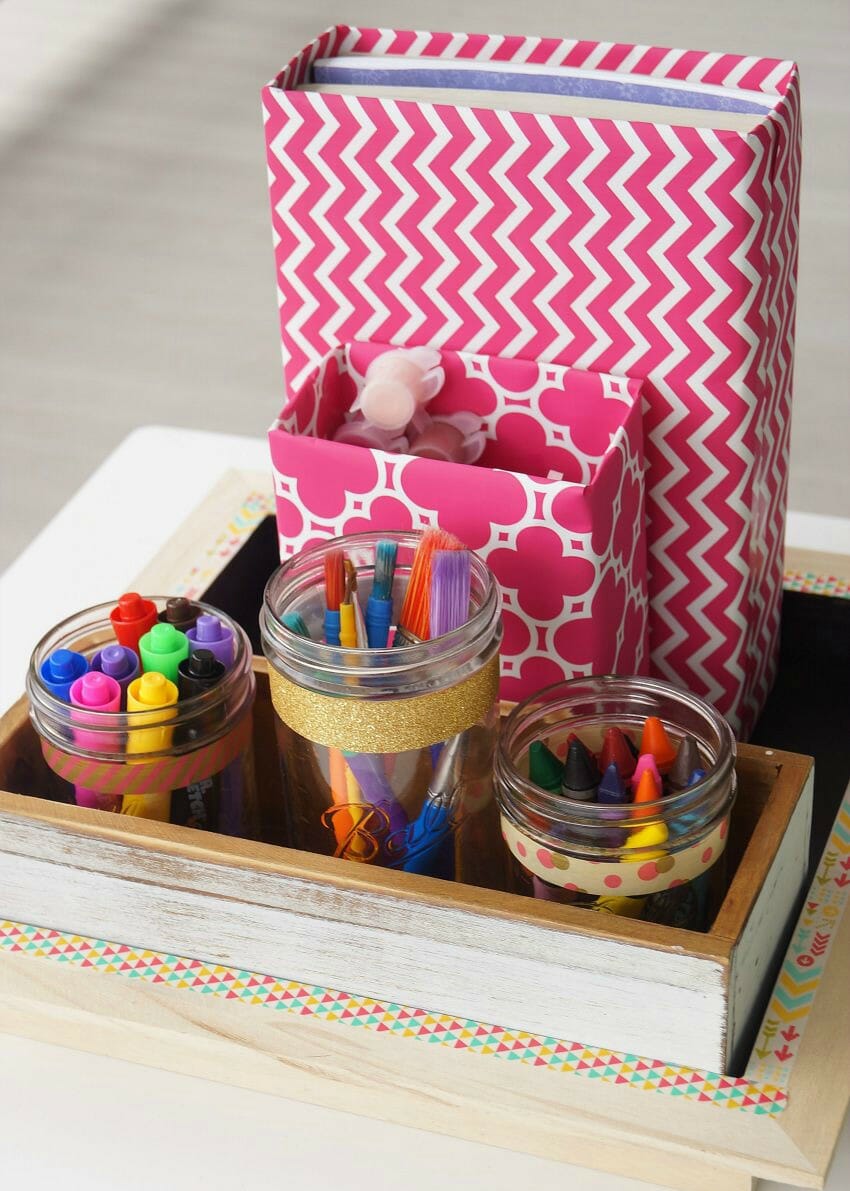
So here is what you need to create this DIY Back to School Supplies Organizer
(all supplies are from Michael’s)
1 large wooden shadow box-This one is perfect because the overhang makes it easy to carry just like a tray!
1 small wooden box. I bought this in the wood craft section and it was already finished with the white distress. It fits PERFECTLY into the shadow box!
3 mason jars, any size, but I like the wide mouth so that my daughter’s chubby hands can fit inside
1 cereal box, 1 pasta box, wrapping paper of your choice and clear tape
washi tape, chalkboard paint, paint brush, chalk, scissors
Procedure
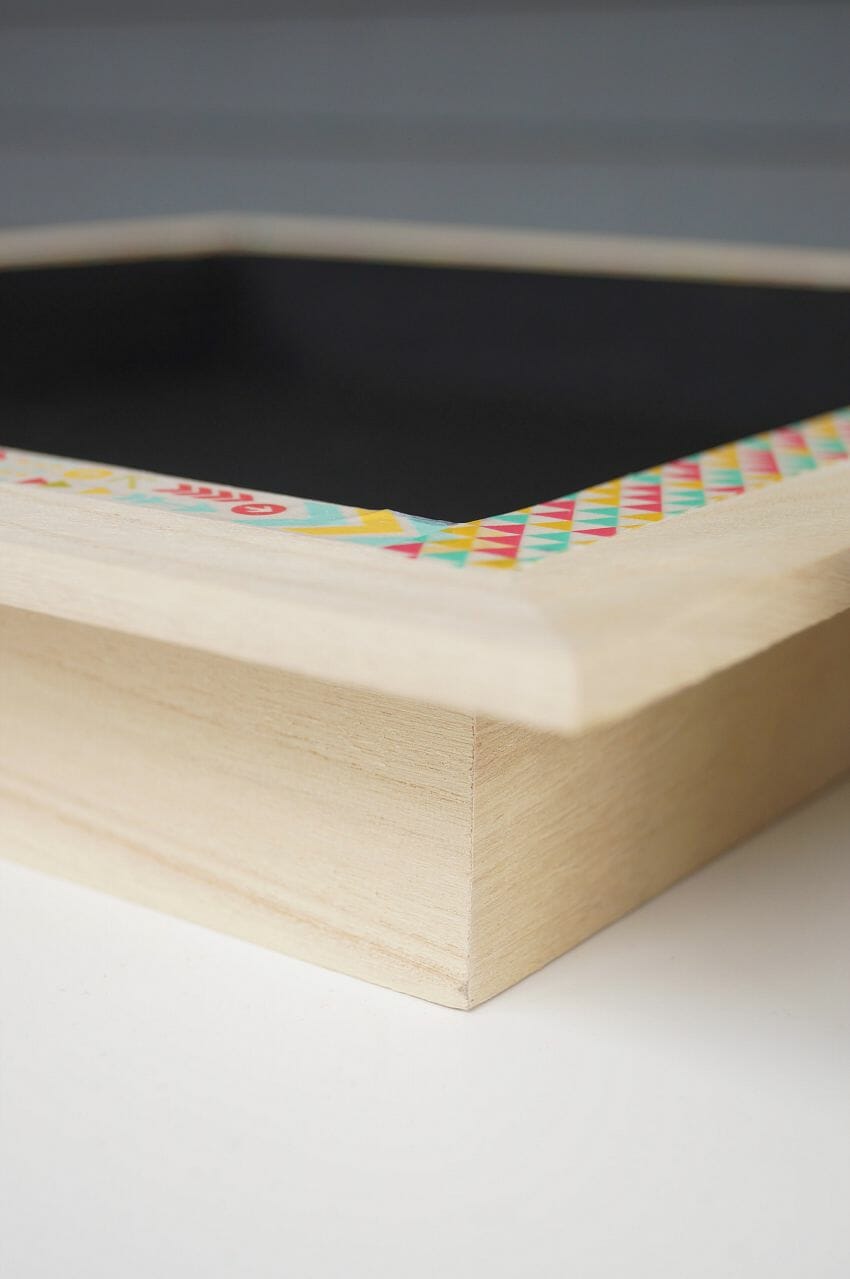
Step 1: Paint the inside of your shadow box. I taped off the top edge so that the paint didn’t bleed. Two coats worked great and then I let it dry overnight. Don’t forget to ¨season¨ the chalk before use by rubbing chalk all over it, then erasing.
Here is the shadowbox before painting, so you can see which one I used if you want to get the same one.
 Step 2: Cover the edges of the shadowbox in washi tape. Not necessary, but I think it adds an adorable touch. And I love these coordinating but not too matchy sets of washi from Michael’s. They are sold in sets of two.
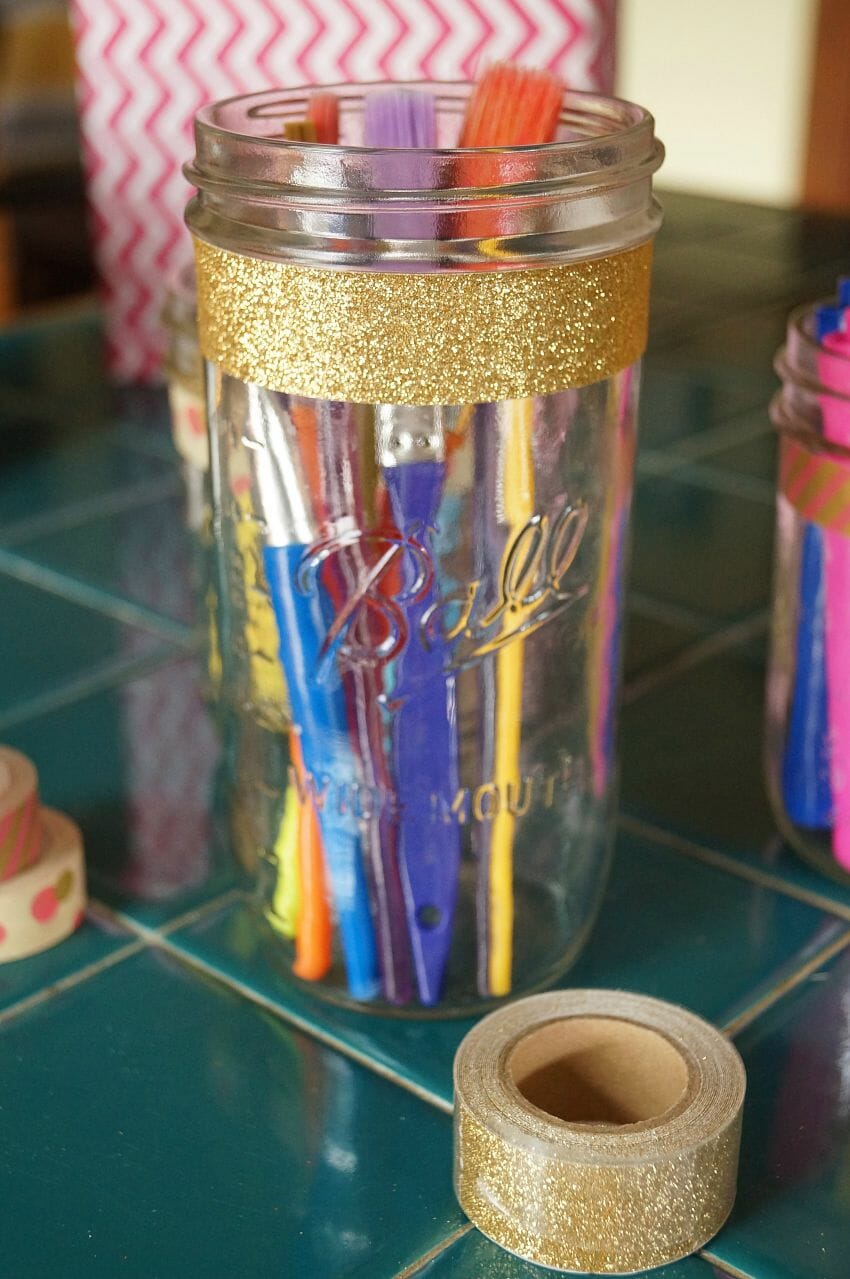
 Step 3: Use the washi tape to decorate the mason jars as desired! I used another coordinating set on these. This tall wide mouth jar is perfect for paint brushes, pens, pencils, or any other taller supplies. It got a bright gold touch with this thicker washi.
 Step 4: Cover your boxes. Begin by cutting the upper flaps off your boxes. Cut a piece of wrapping paper that it big enough to wrap around the box, but not overlap on the back. You just want the edges to meet.
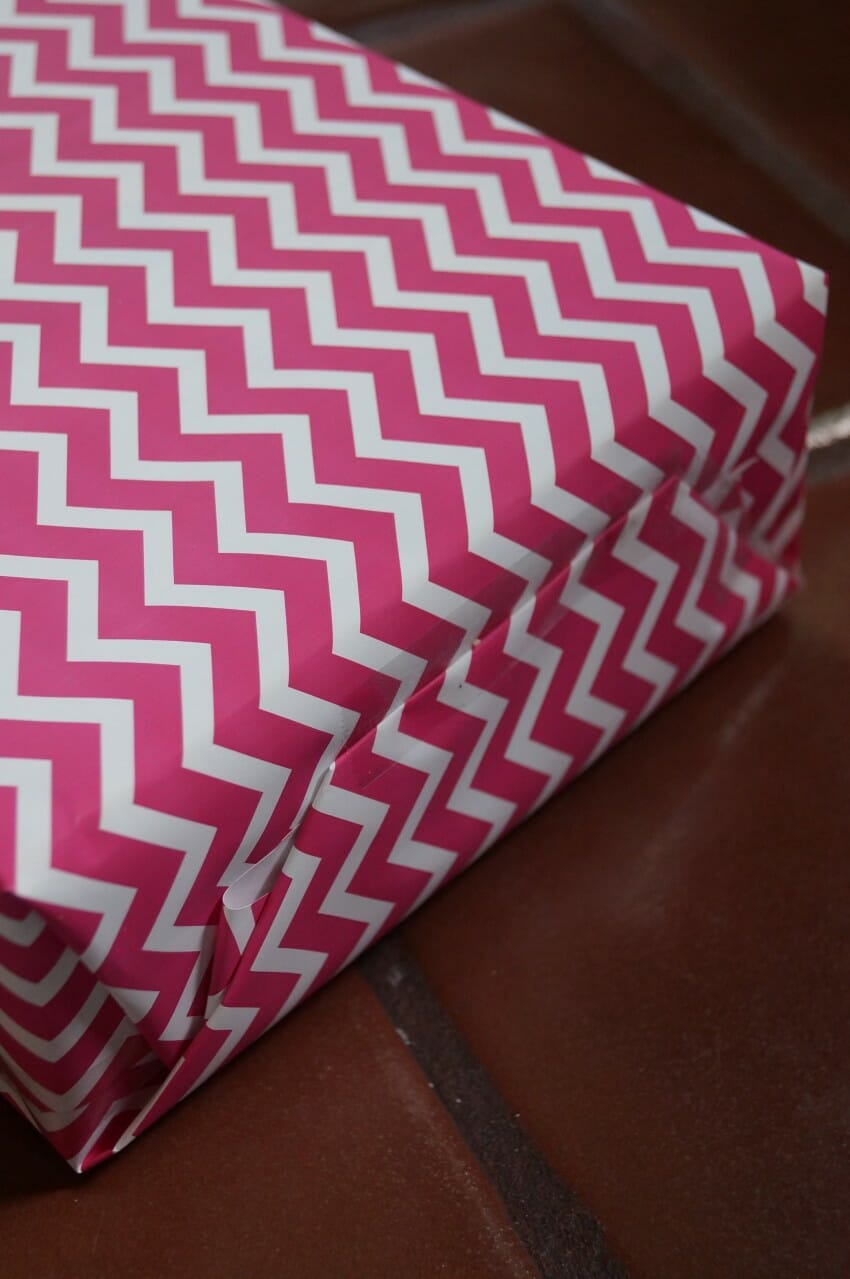
 Tape the edges to secure. Fold the bottom just like you would finish the sides when you are wrapping a present.
 On the top, cut four slits that match up with the corners of the boxes so that you have separate flaps you can fold down. Cut from the top all the way down to where your scissors meet the box.
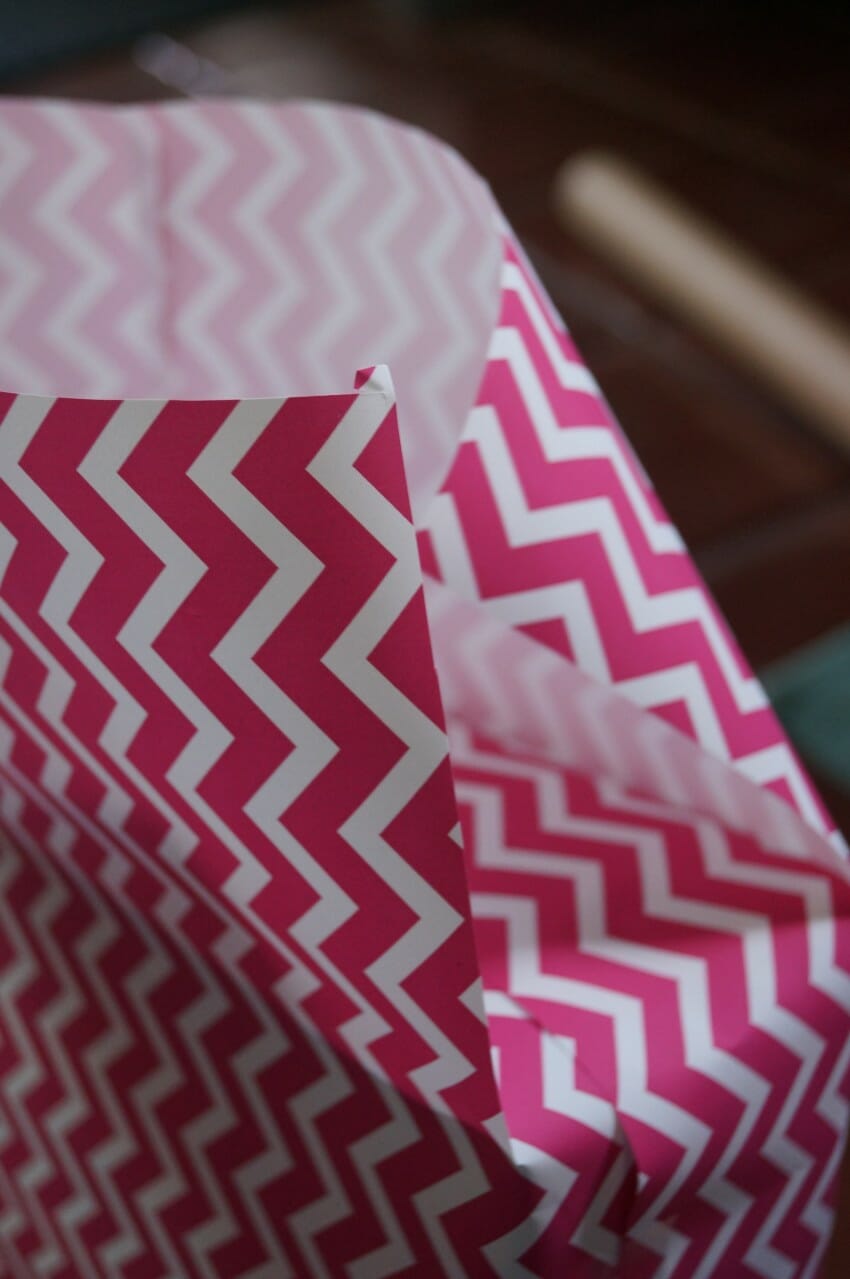 Push each individual flap into the box and tape it down. Don’t worry that they don’t cover the entire inside, no one will be looking!
It is the perfect size for holding coloring books! I put small paint sets, like watercolors into the smaller box.

And that’s it! Add your school supplies into each jar or box and then step back and look at how cute it looks! My daughter is so excited to use her’s. I set it up on her little craft table and it is perfect for her to have everything at arm’s reach, all organized together. But when she is finished, I can carry the entire thing somewhere else to stash for later.
 Love this? Pin it for later!
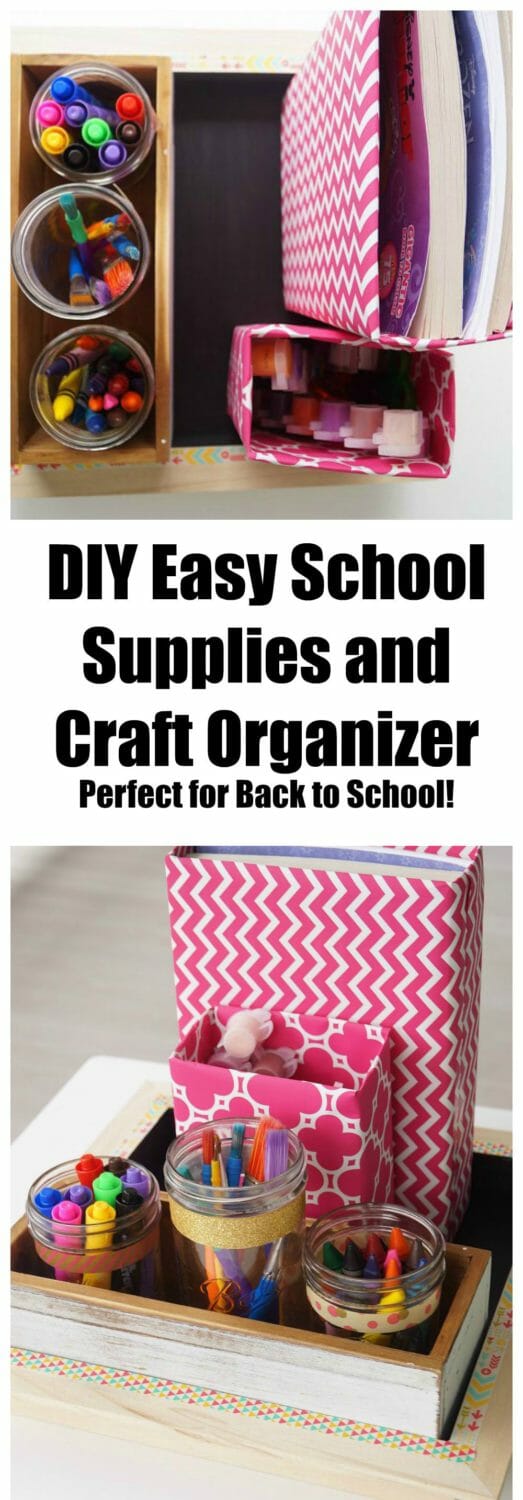


These are all great, but simple ideas to keep things organized (and cute) with school and craft supplies. Love this idea!
Simple ideas always work best! I find myself having to redo my organizational systems if I overthink them too much!
What a fun idea. Its always a challenge to keep things organized for school!
Love this! Great way to keep everything organized!!
Great idea! Love the pink
Thanks Ariel!
Oh my gosh, I need something like this so bad! What a great idea, pinning!
This is a perfect idea to get everything organized and its so cute. I especially love the ball jars as a pencil holder.
Reusing cereal and pasta boxes is so smart! Great idea 🙂
Thanks! I love that if they get ruined by my rambunctious little girl I won’t feel bad about throwing them away and redoing them!
Get out of town!!! The repurpose of the shadow box and food boxes — LOVE!!! Also, great touch using the tape!
Thanks Sara! I was so excited when I saw that it would all fit so nicely in the shadow box!
Very cute ideas! Storage is always key with that school clutter, no doubt! Cute storage is even better 🙂
Great idea! The cheapest way to organize everything. Thank you for sharing!!
I love it