Today, I am sharing the details of our bathroom remodel. To see the reveal and all the before and afters, go here!
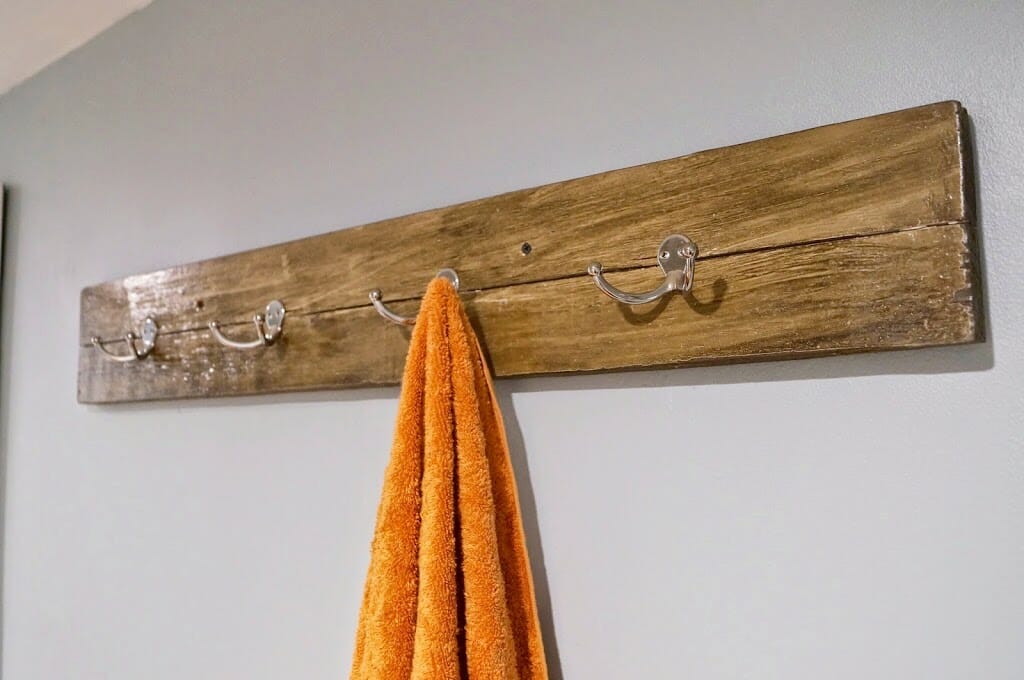
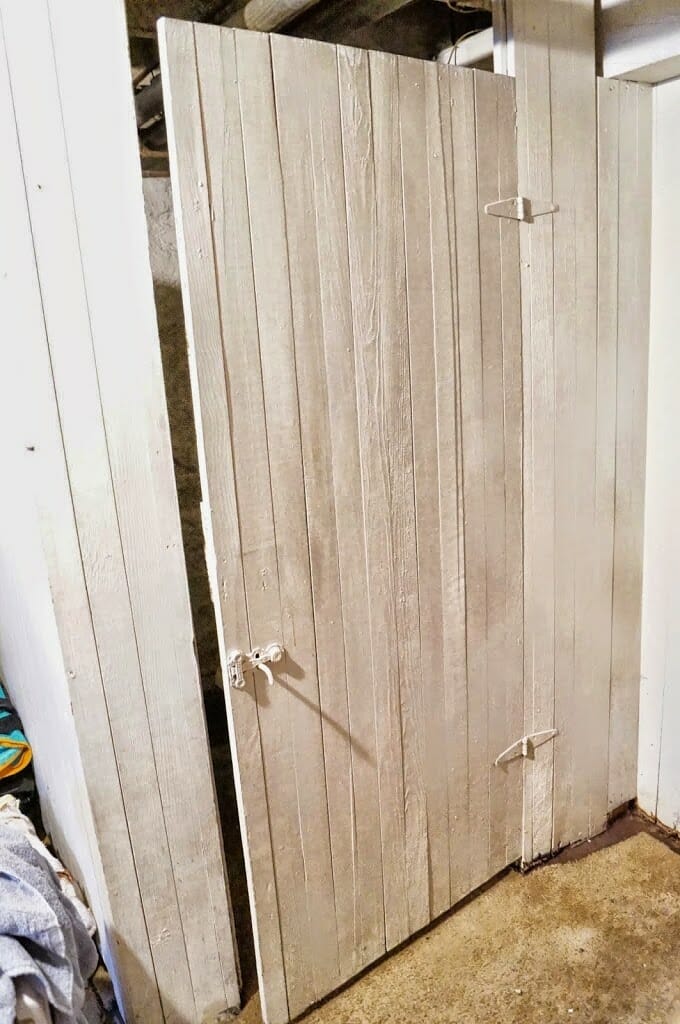
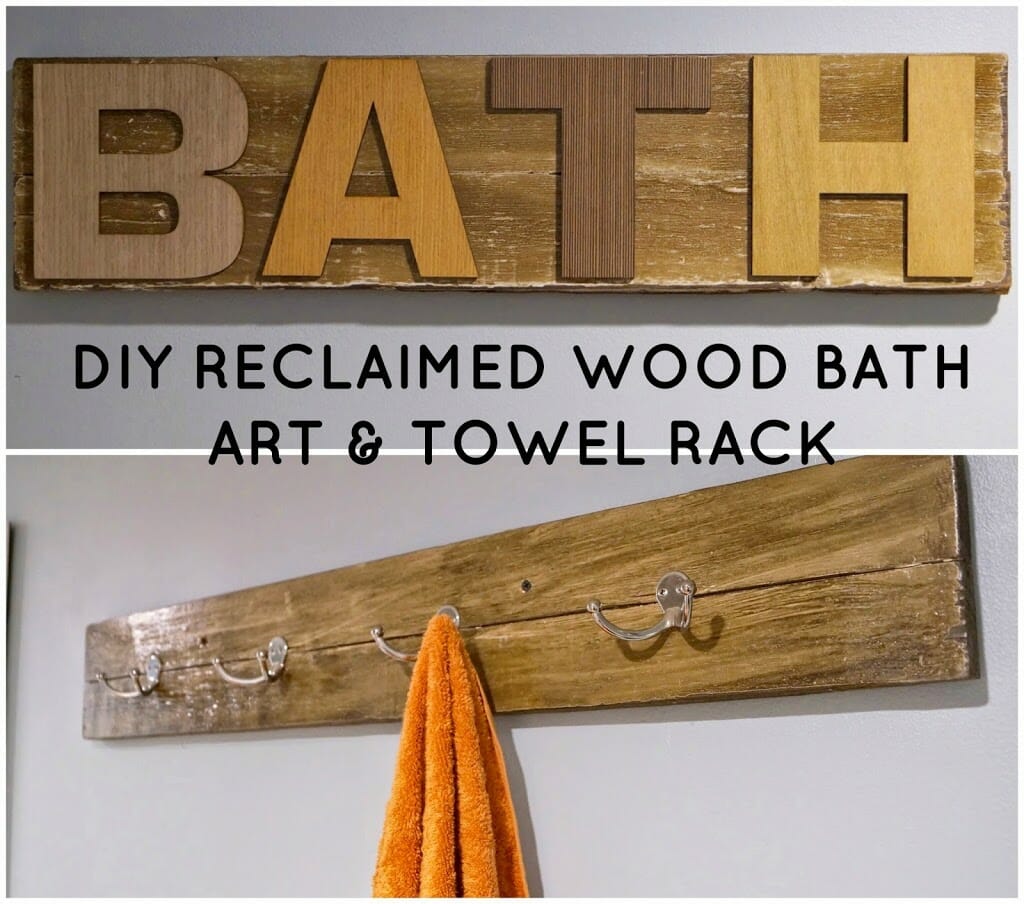
A piece of wood cut to size-Use old wood, brand new wood, or to replicate the plank look that I have, use two pieces of tongue and groove boards (the type that slide into each other)
Minwax Dark Walnut Stain
Rusteoleum Weathered Gray Stain
Gloss Poly
Sanding Block
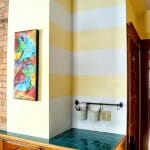
For the Towel Rack
Towel Hooks
Screws to secure into the wall
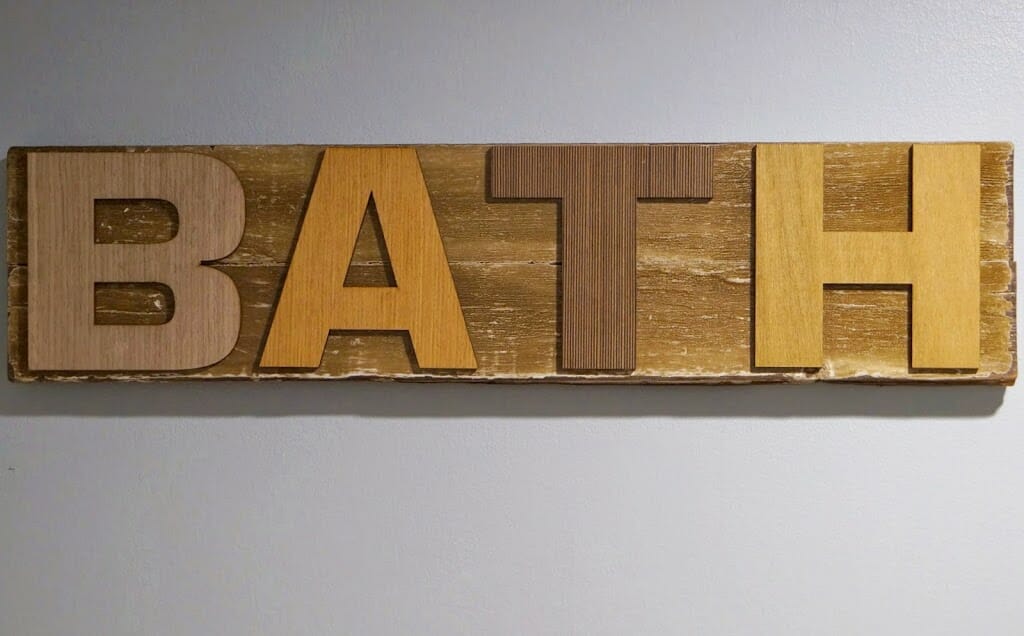
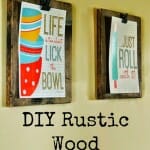
For the Bath Sign
Wooden Letters
Wood Glue
A nailtooth hanger
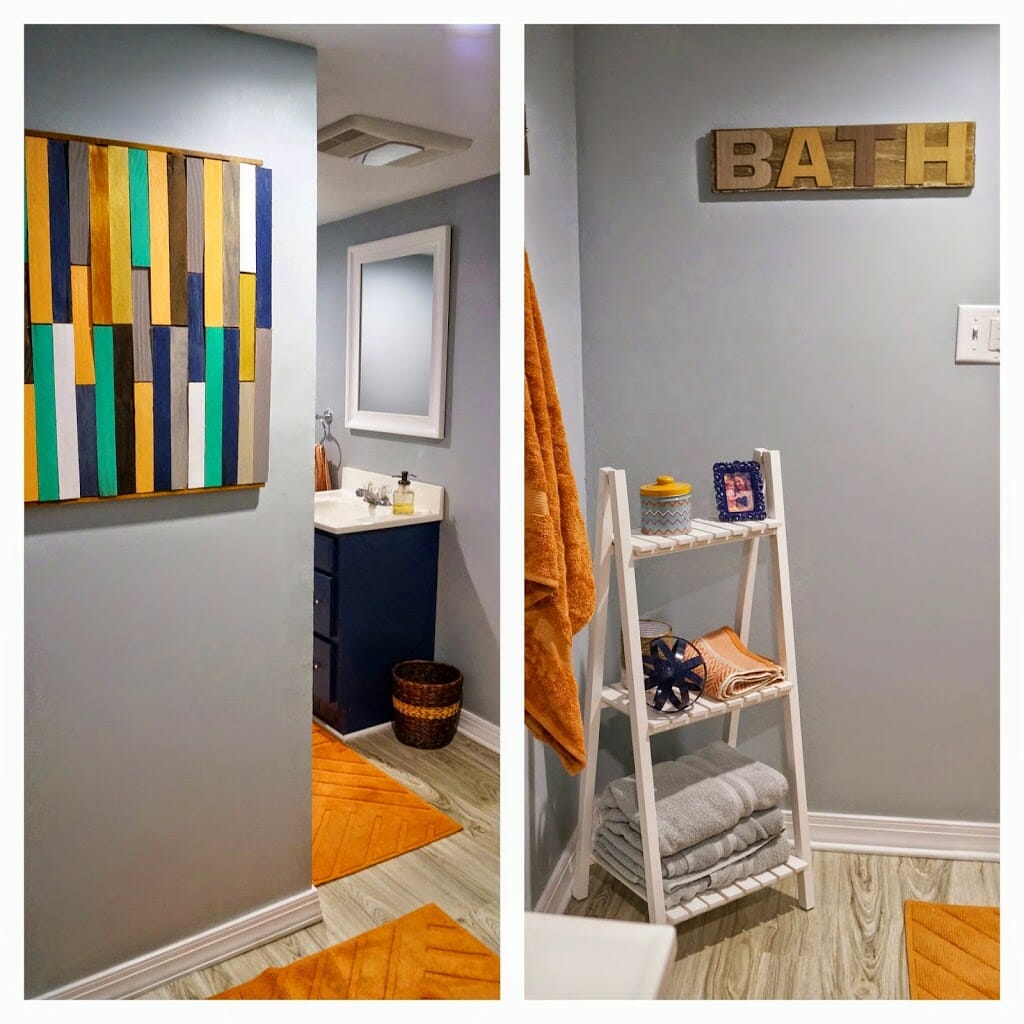
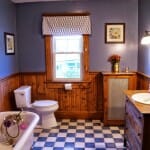
Now here are the details of the bathroom!
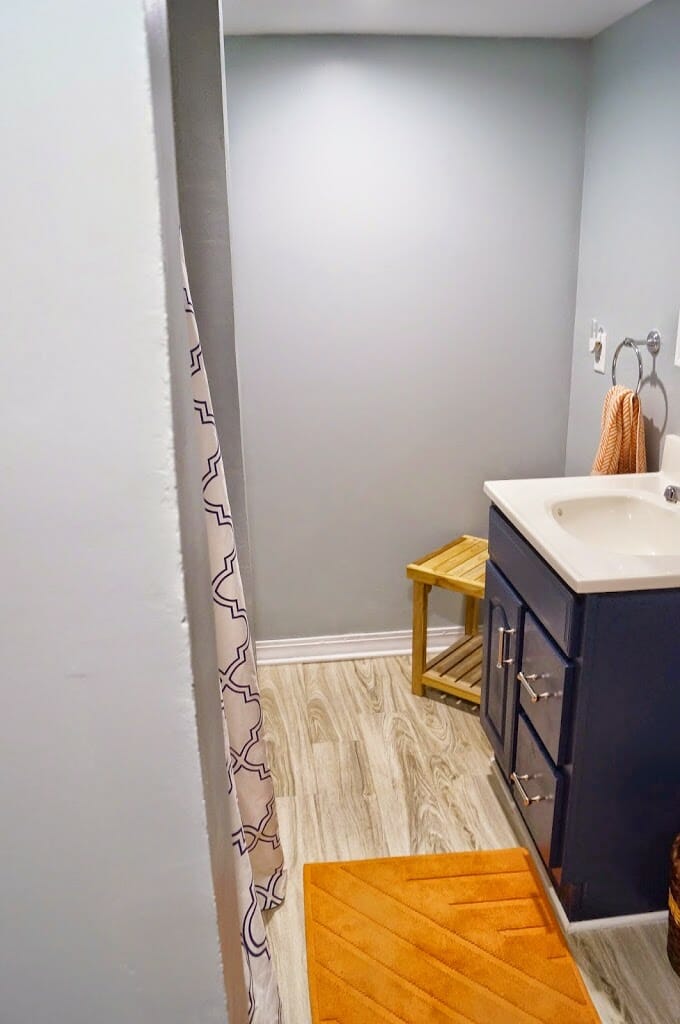
Wall Color: Smoke by Benjamin Moore, Color Matched to Sherwin William’s HGTV Paint in a Satin Finish.
Trim Color: (Off the Shelf) Ultra White Paint by Valspar.
Vanity Color: Indigo Streamer by Valspar in a Semi-Gloss Finish
Vanity Primer: My favorite, BIN 1-2-3 Primer
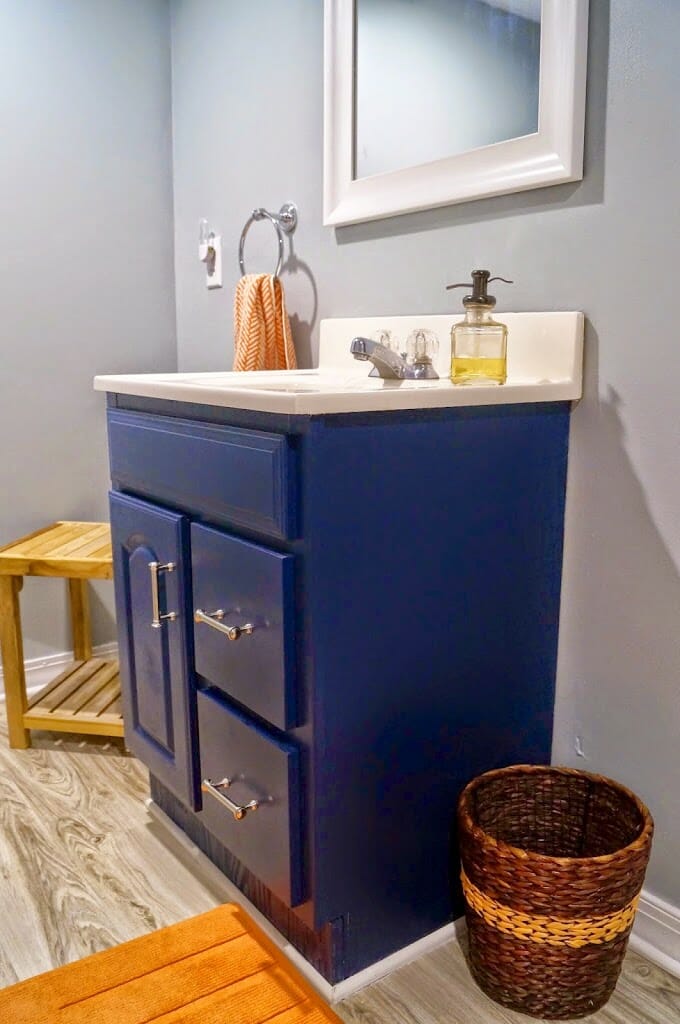
Flooring: Allure Traffic Master Flooring in Alpine Elm. I loved this flooring! It was easy to install and seems very durable. I even started installing the floor backwards, which made it much more difficult, and it was still easy! It is supposed to withstand a flood and is guaranteed for 25 years. This flooring is great for bathrooms and laundry rooms or anywhere else with a lot of water.
In trying to stick to our budget, I shopped around in order to find good deals on the accessories for our bathroom and anything I couldn’t find, I DIYed.
Rugs and Towels: Nate Berkus for Target
Towel Ring, Toilet Paper Ring, Mirror, Soap Dispenser: Threshold from Target
Shower Curtain and Rings: HomeGoods
Stool and Shelf Ladder: HomeGoods
Trash Can: Purchased Threshold Wicker Trash Can from Target and painted it with Orange Acrylic Paint
Color Block Wood Shim Art: DIY (Tutorial coming soon!)


How easy and inexpensive, now that’s my kind of project 🙂 Thanks for sharing! I will have to check out Michael’s.
I hope you are able to find the letters! I think they are so pretty with their rustic stained looked!
Very nice! Does the gloss poly prevent the wood from going mouldy? We live in a very humid place so if it does then that would be great!
The glossy poly should seal in the wood and keep the moisture out!