It all started with the painted green box, and then the yarn wrapped wreath, but I am still on a mission to create fun and bright spring decor for our home. Bonus points for projects that I can make without spending any money. This project was free (for me because I had everything! and only took 3 steps!) I began by finding this printable spring banner paper from eighteen25 which I printed on white cardstock. The piece were quite big so I knew I was going to cut them down.
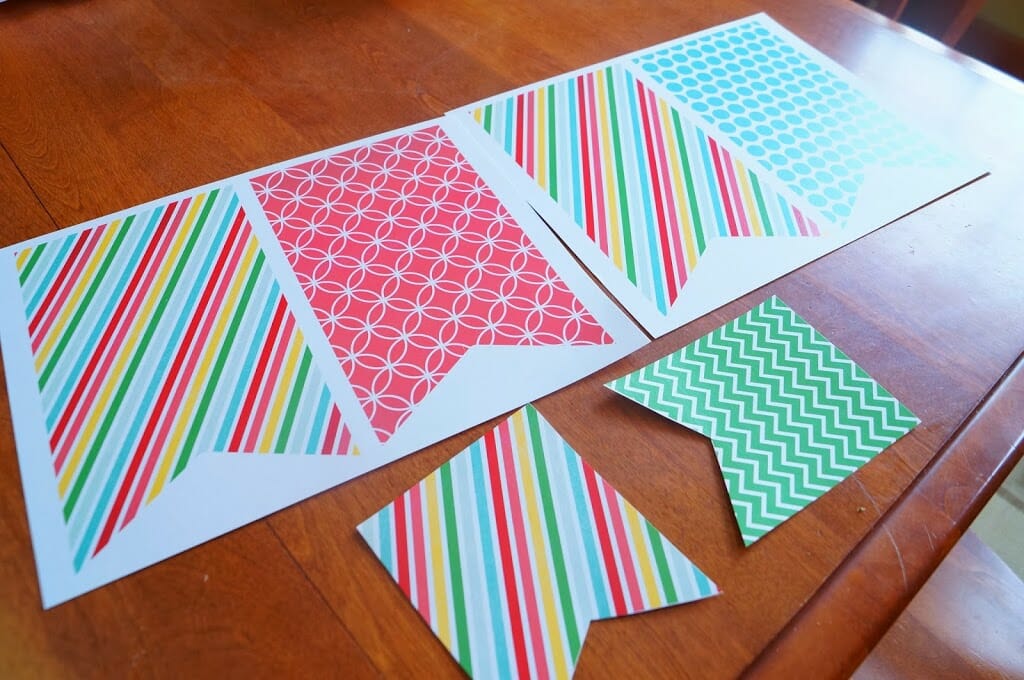
You can see the original size there in the uncut ones.
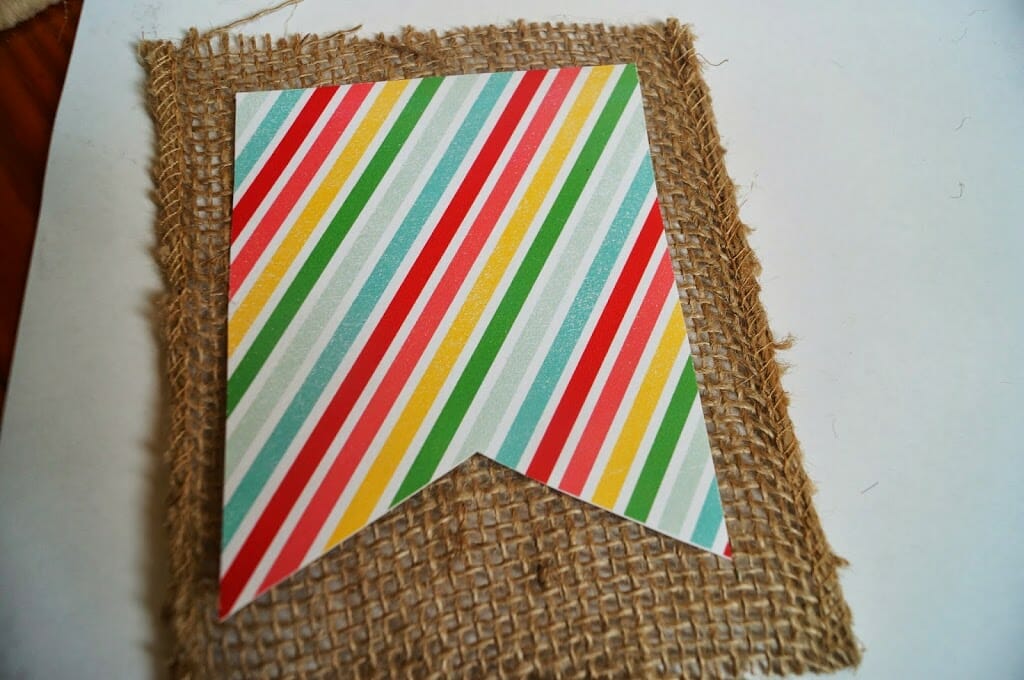
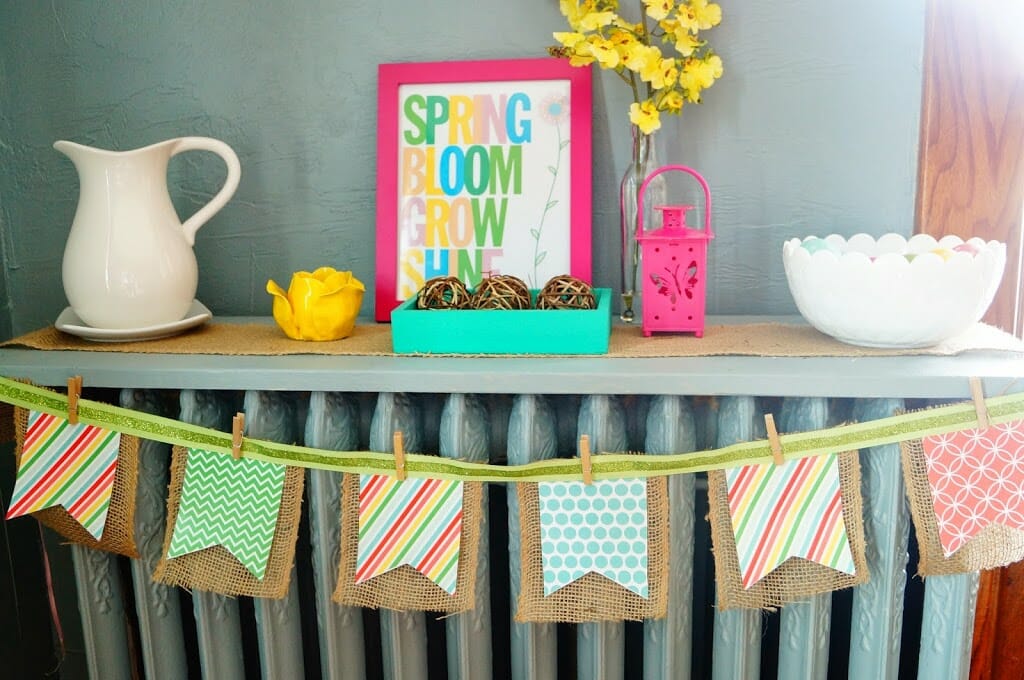
I then cut my roll of burlap down to my desired size. I already had this burlap roll, but this would cost you about 5.00 dollars at the craft store if you were to buy it. Next, I hot glued just the top of my bright paper onto the burlap.
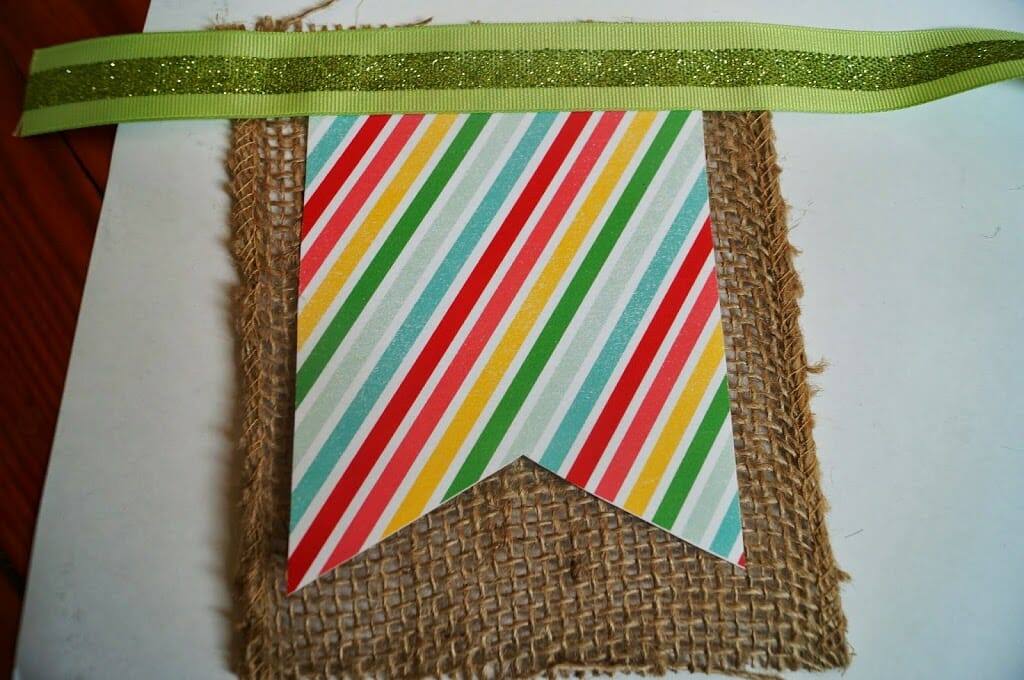
And then hot glued the green ribbon across the top. I used ribbon scraps, but you could use ribbon, twine, or anything else you had on hand.
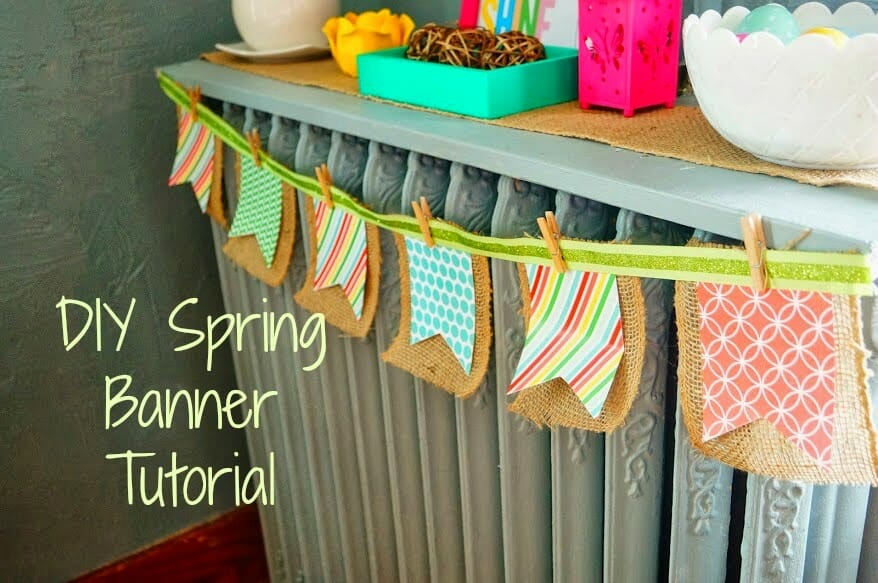
And that’s it! I added the mini clothespins to the top of each pennant, but they are just decorative and are not actually holding anything up. I think the clothespins would be adorable spray painted bright pink, but I was trying to keep the steps to a minimum here. I hung it here on my spring “mantle” with a mish mash of stuff. Both the white pitcher and white bowl are from a thrift shop and the bowl is holding porcelain Easter eggs. Thrift shops are my favorite place to get accessories. One day I have to do a post on my giant collection of thrift shop items! Although we had snow here this morning, I think we have finally reached the turning point for spring…I hope the weather is breaking wherever you are as well!


Hello Amanda, I like your Spring banner. Well done! Have a good weekend, too!
Thank you Jacqui!
So cute and quick! Love it : )
Thank you Sarah! Just checked out your blog! I love your ideas, the reversible apron is adorable!
Love banners, this one is super cute with the spring colors!
Thank you for linking up to Fabric Frenzy Friday!
-Lindsey
Fabric Frenzy Friday
Thank you! And thank you for hosting the link up the link up!
Hey it’s Deonna from the Child at Heart blog. I LOVE this and would love for you to link up at our link party this week! I also have a super great spring necklace to give away so come on over 🙂
http://www.thechildatheartblog.com/2014/04/link-party-with-morganize-with-me.html
Super cute banner! I love all the colors and textures! Thank you for sharing! Pinning!
Cat